The Process Behind Custom Cabinets
It took close to one month if I remember it correctly, but all the planning and all the waiting was well worth it in the end. I am talking about designing and sourcing the perfect custom cabinets for a very cool bathroom remodel I am working on.
The story of this bathroom started off like the picture below. Before the renovation started, walking into this bathroom had you instantly transported to a different decade, and honestly, I am not quite sure which one it was. The heavy decor in this room left my client begging for a redo and her problem was easy to spot. The layout didn’t work, the decor was dated and bulky, and the overall feel of this bathroom was not inspiring and welcoming. It was time to combine function and beauty.
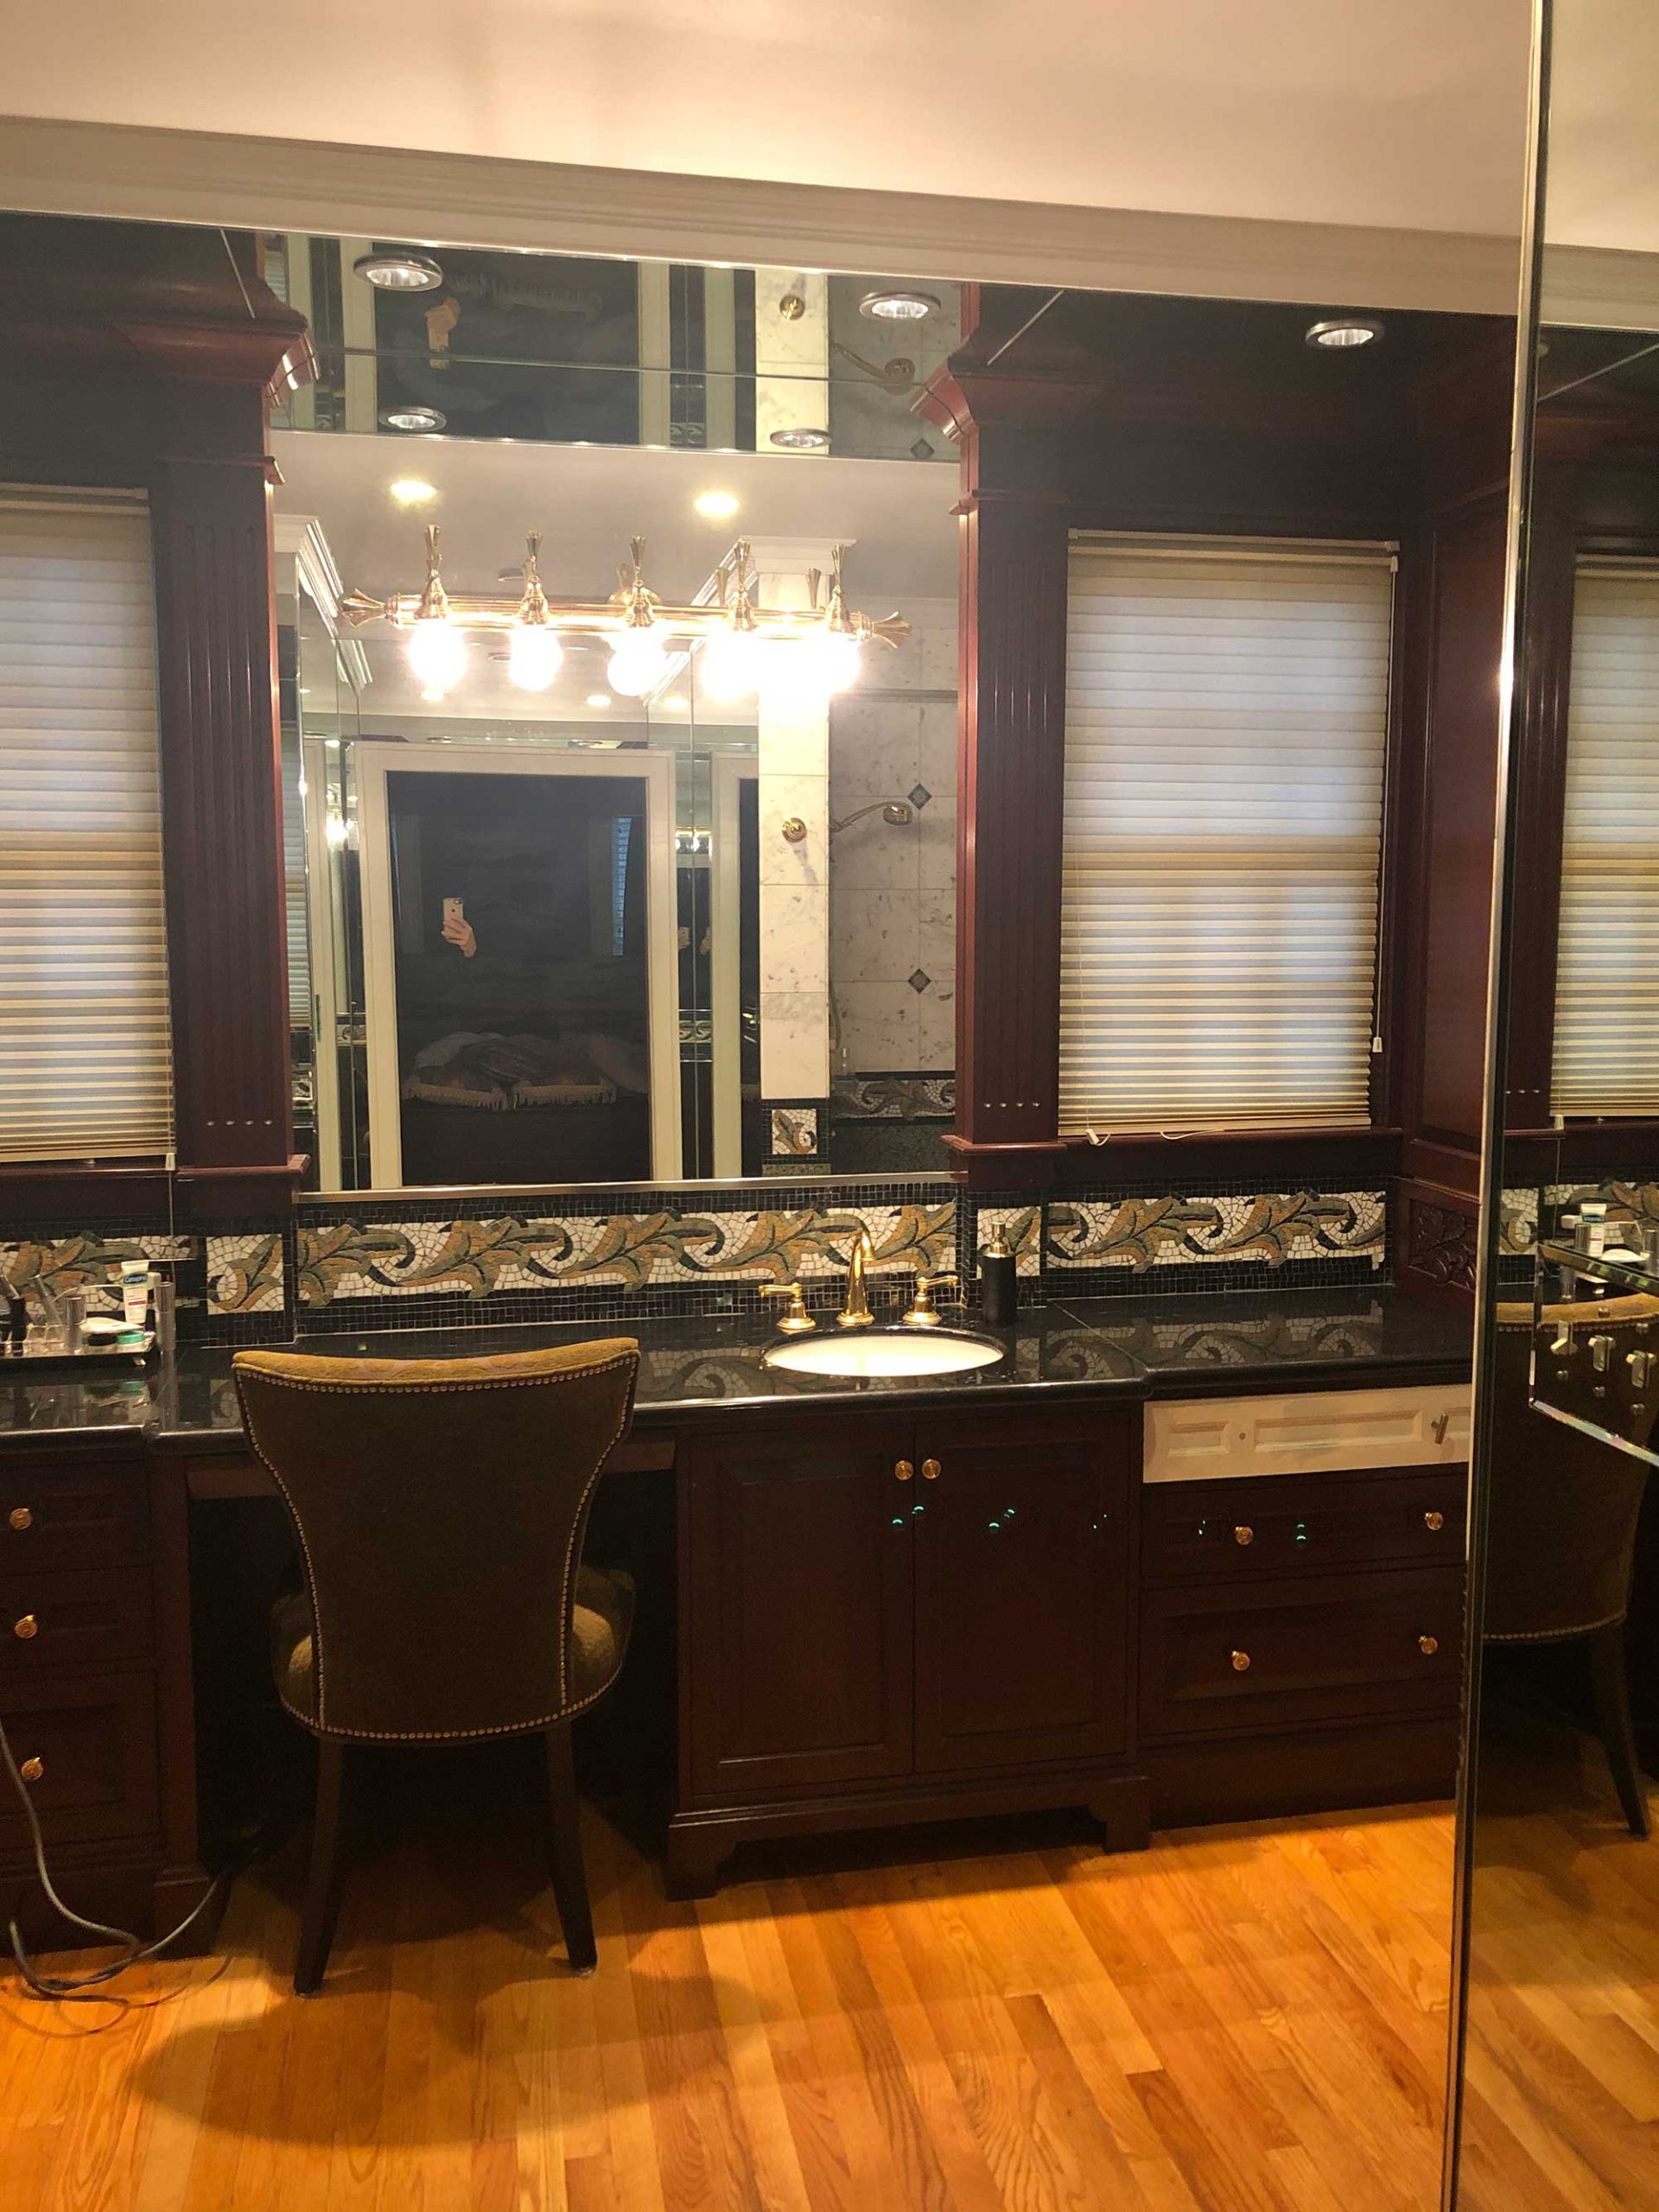
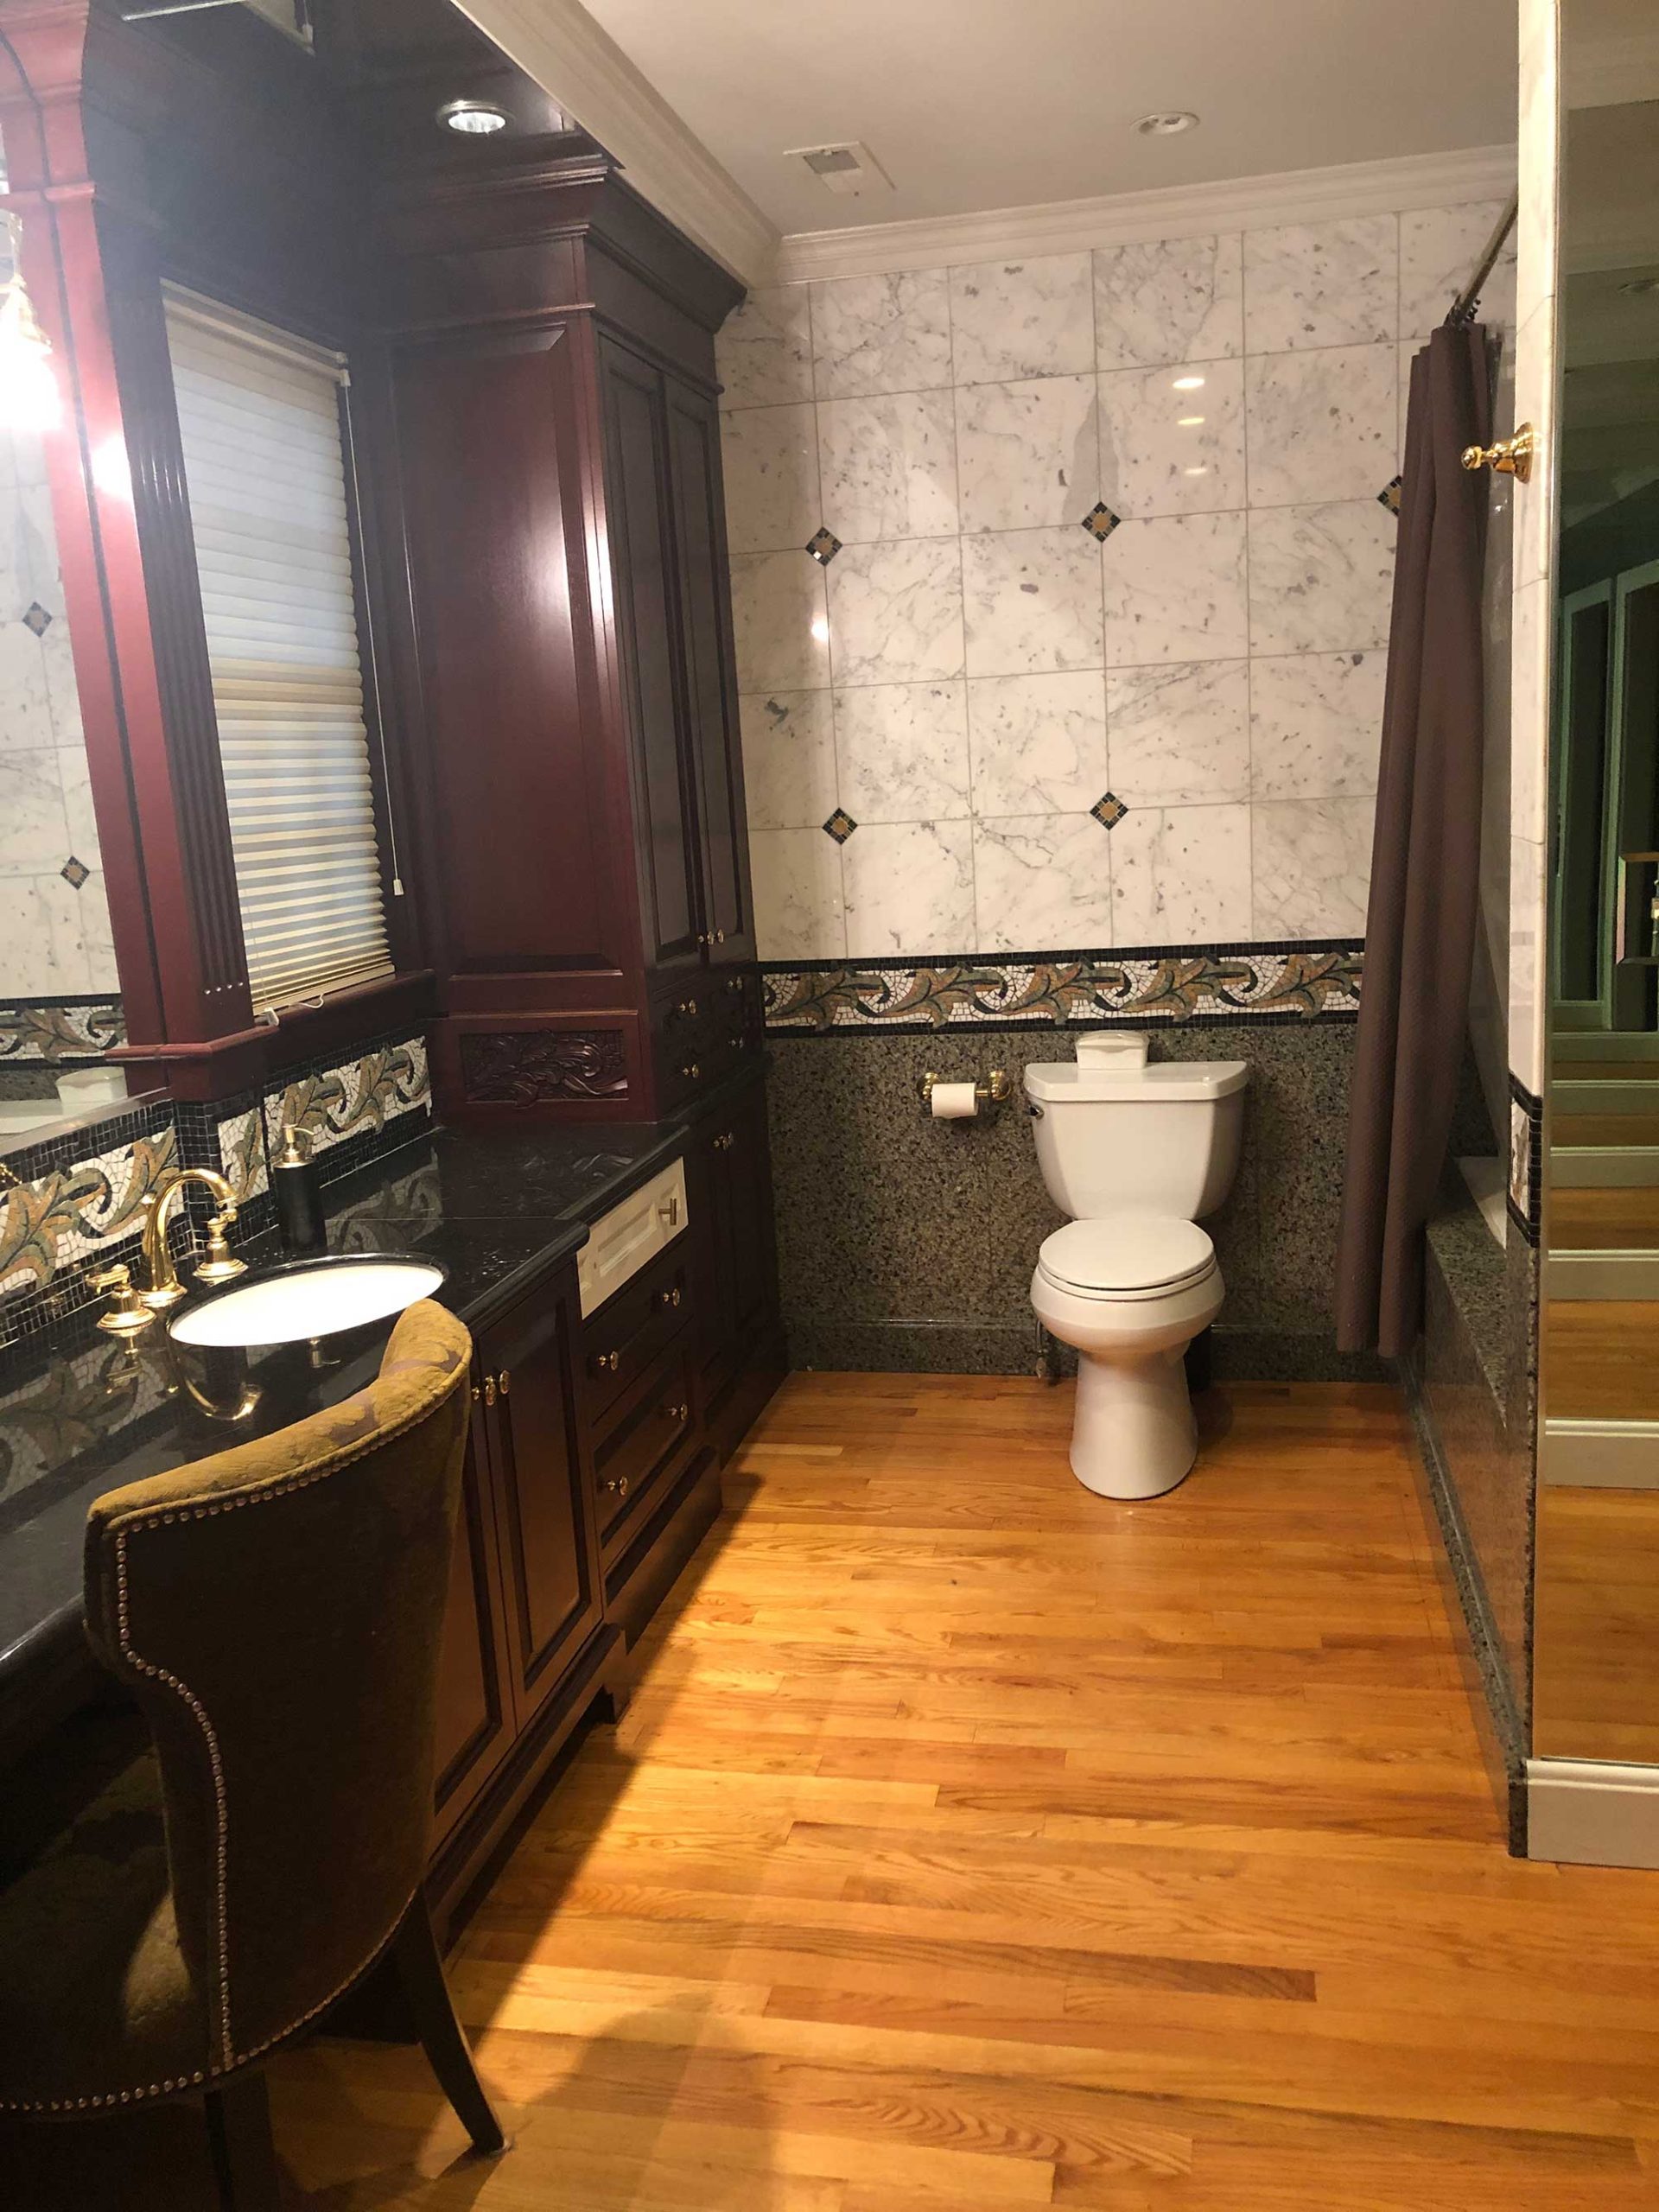
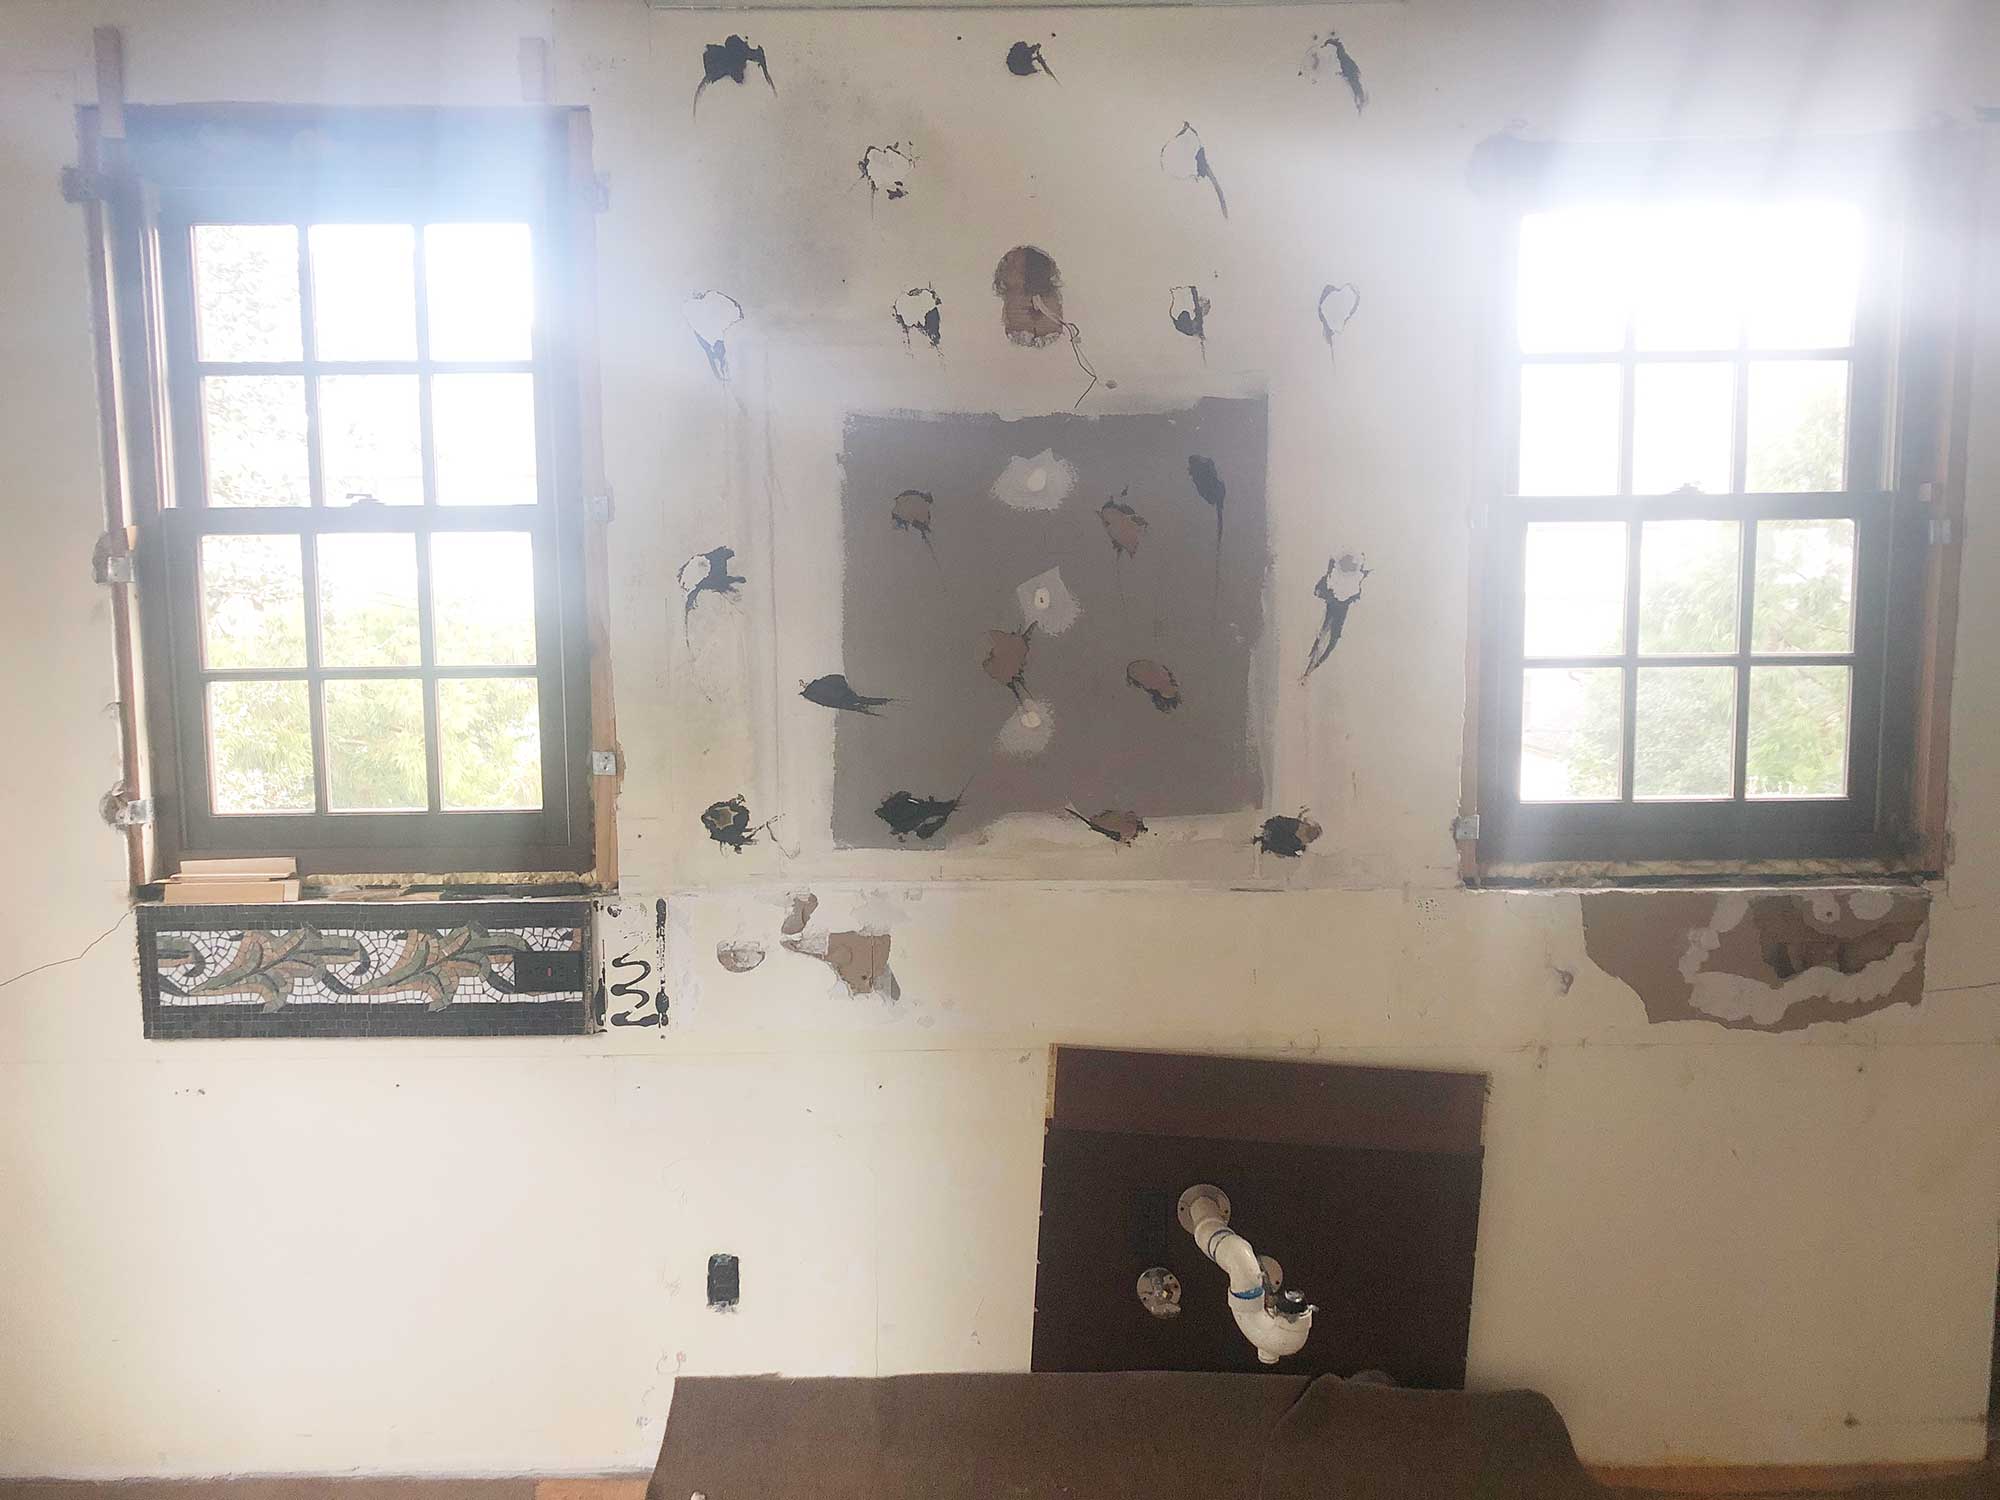
When designing this bathroom, I wanted to keep the wall to wall cabinetry in place. I felt like the long cabinetry was a necessary design element for the long and narrow room layout. But the cabinet needed to be completely updated. So, while working with my client, we sourced five different companies to help us with some beautiful custom cabinetry. This process can be lengthy as we deal with different companies and different estimates. But this is a necessary process when creating a custom look. And all the planning is sure to pay off in the end.
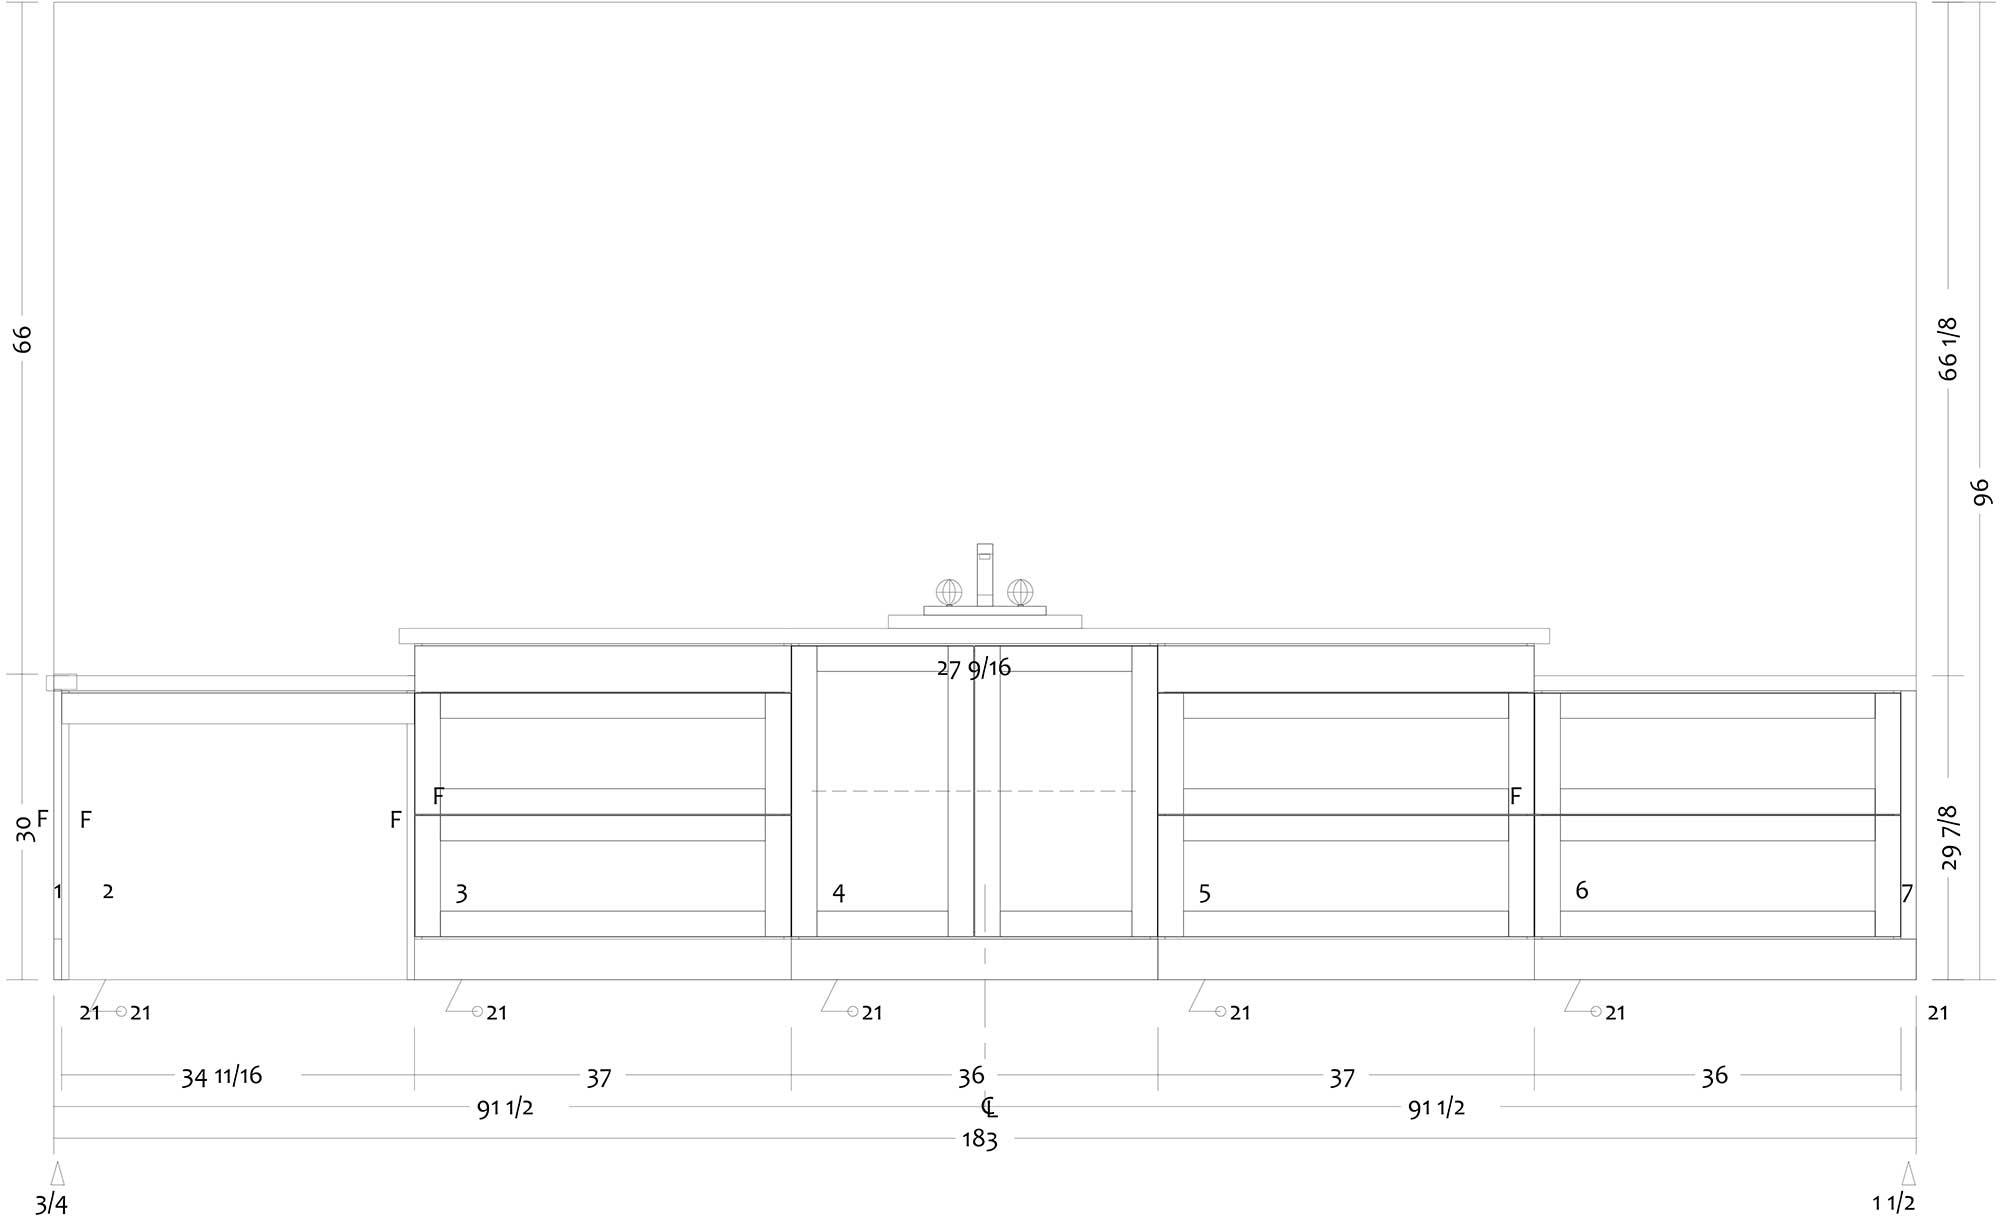
I had envisioned a new custom piece that wouldn’t take over the room despite its size. I knew I didn’t want to keep any of the upper cabinets because this room desperately needed space to breathe. While working with Heritage Woodwork, we decided to move the makeup area from the center to the left end of the cabinets. And in order to create a cohesive look, we mimicked the lower height of the makeup area to the right side of the cabinetry as well. This allowed for the sink to play center stage and really stand out.
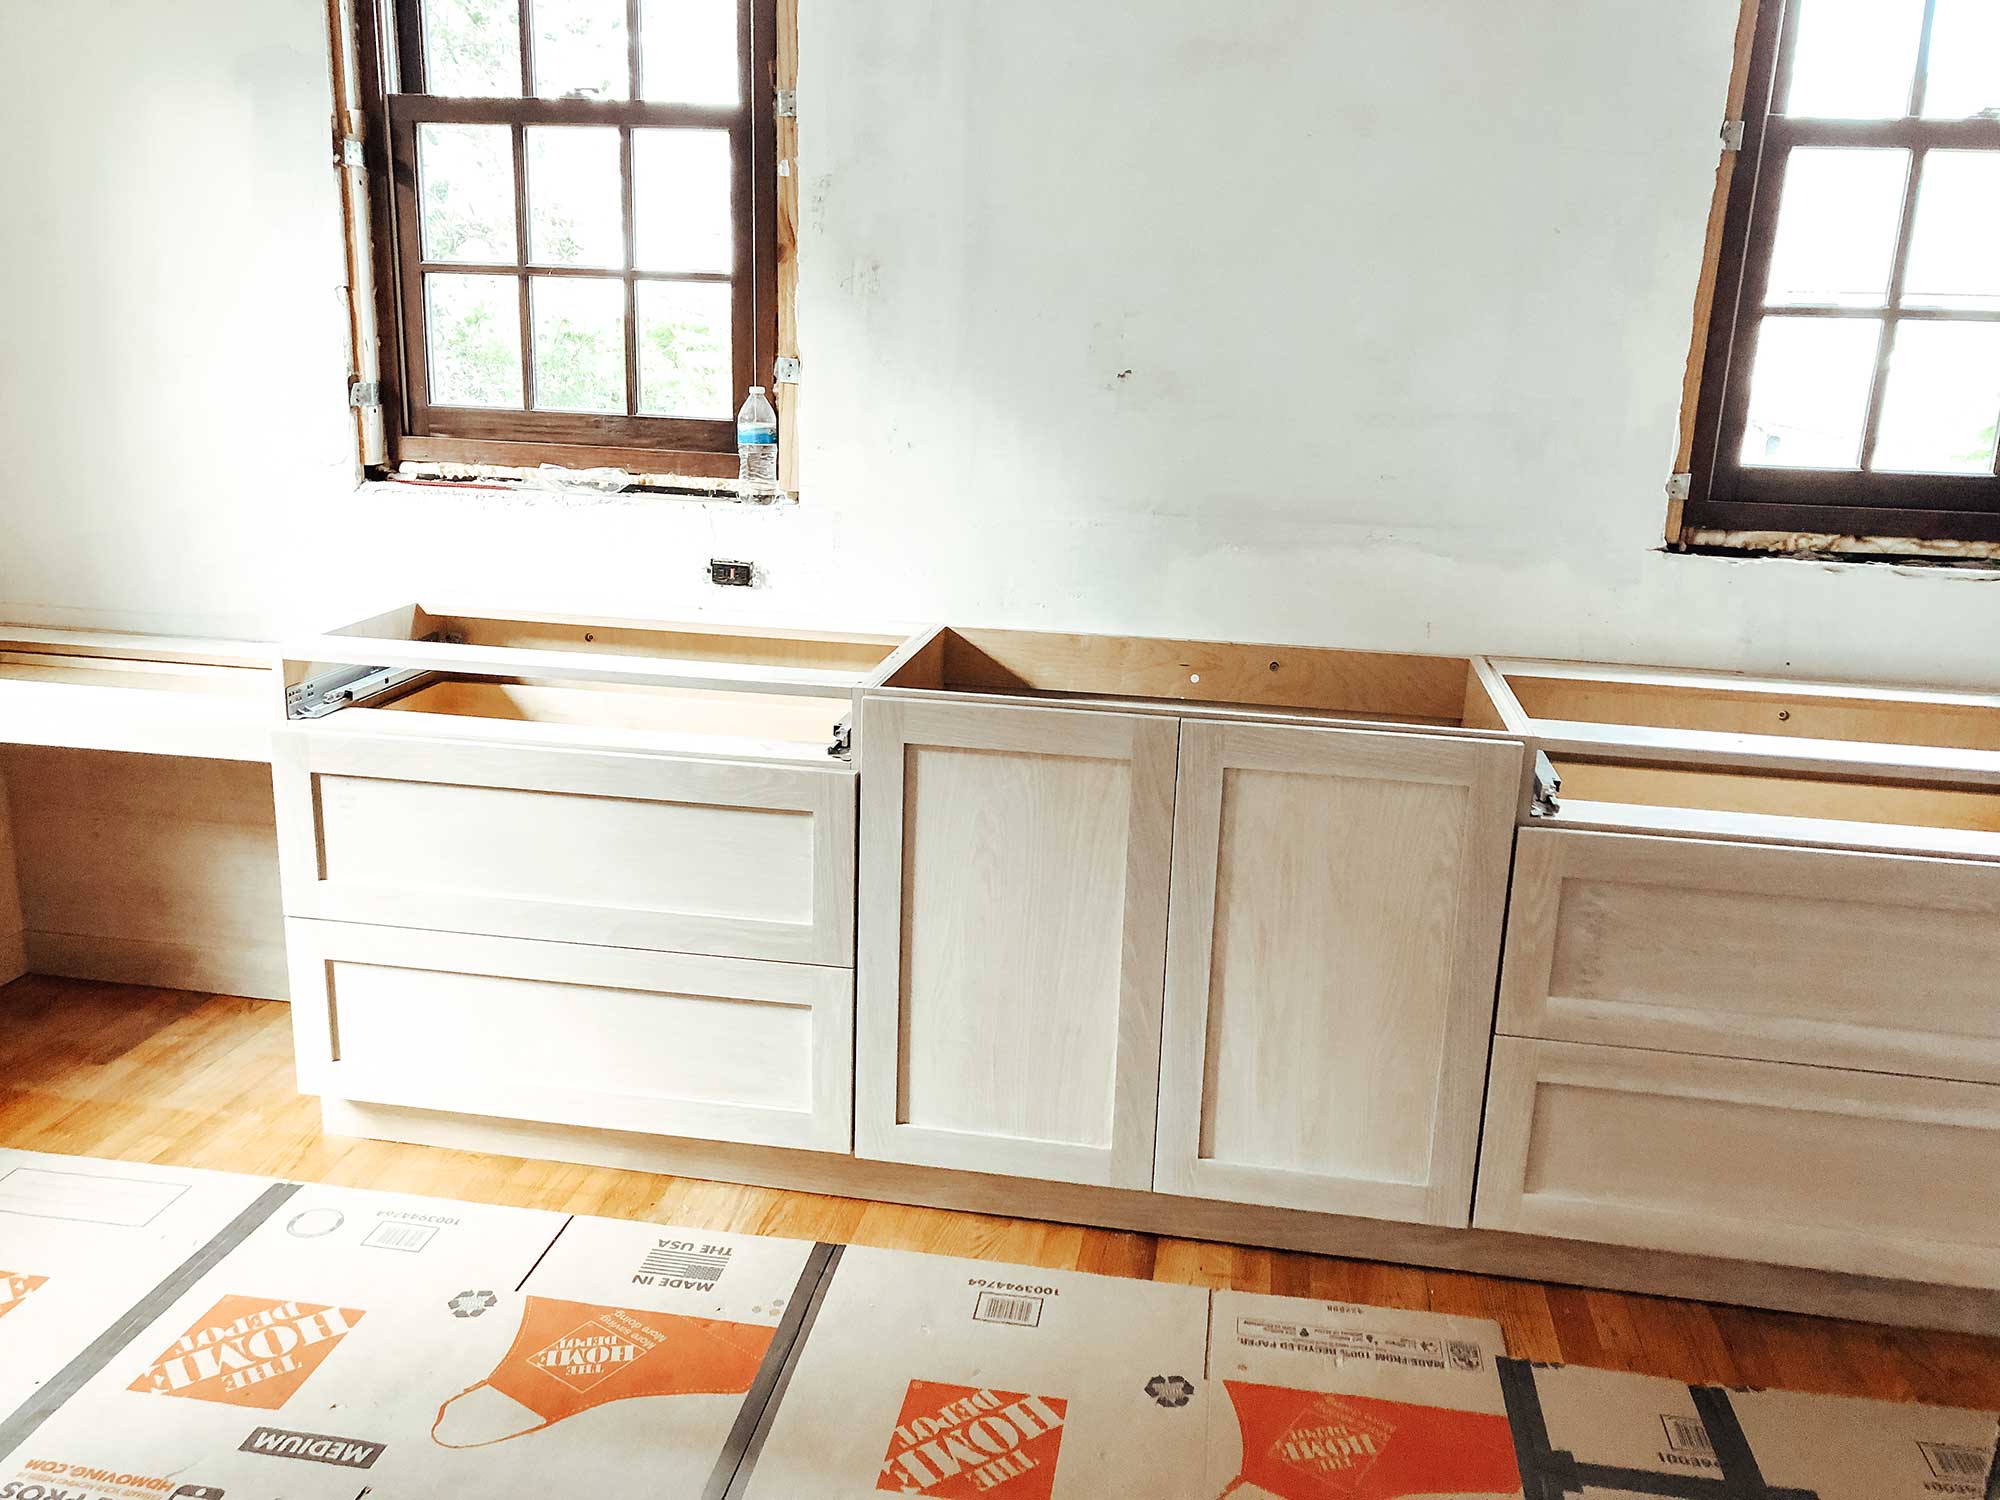
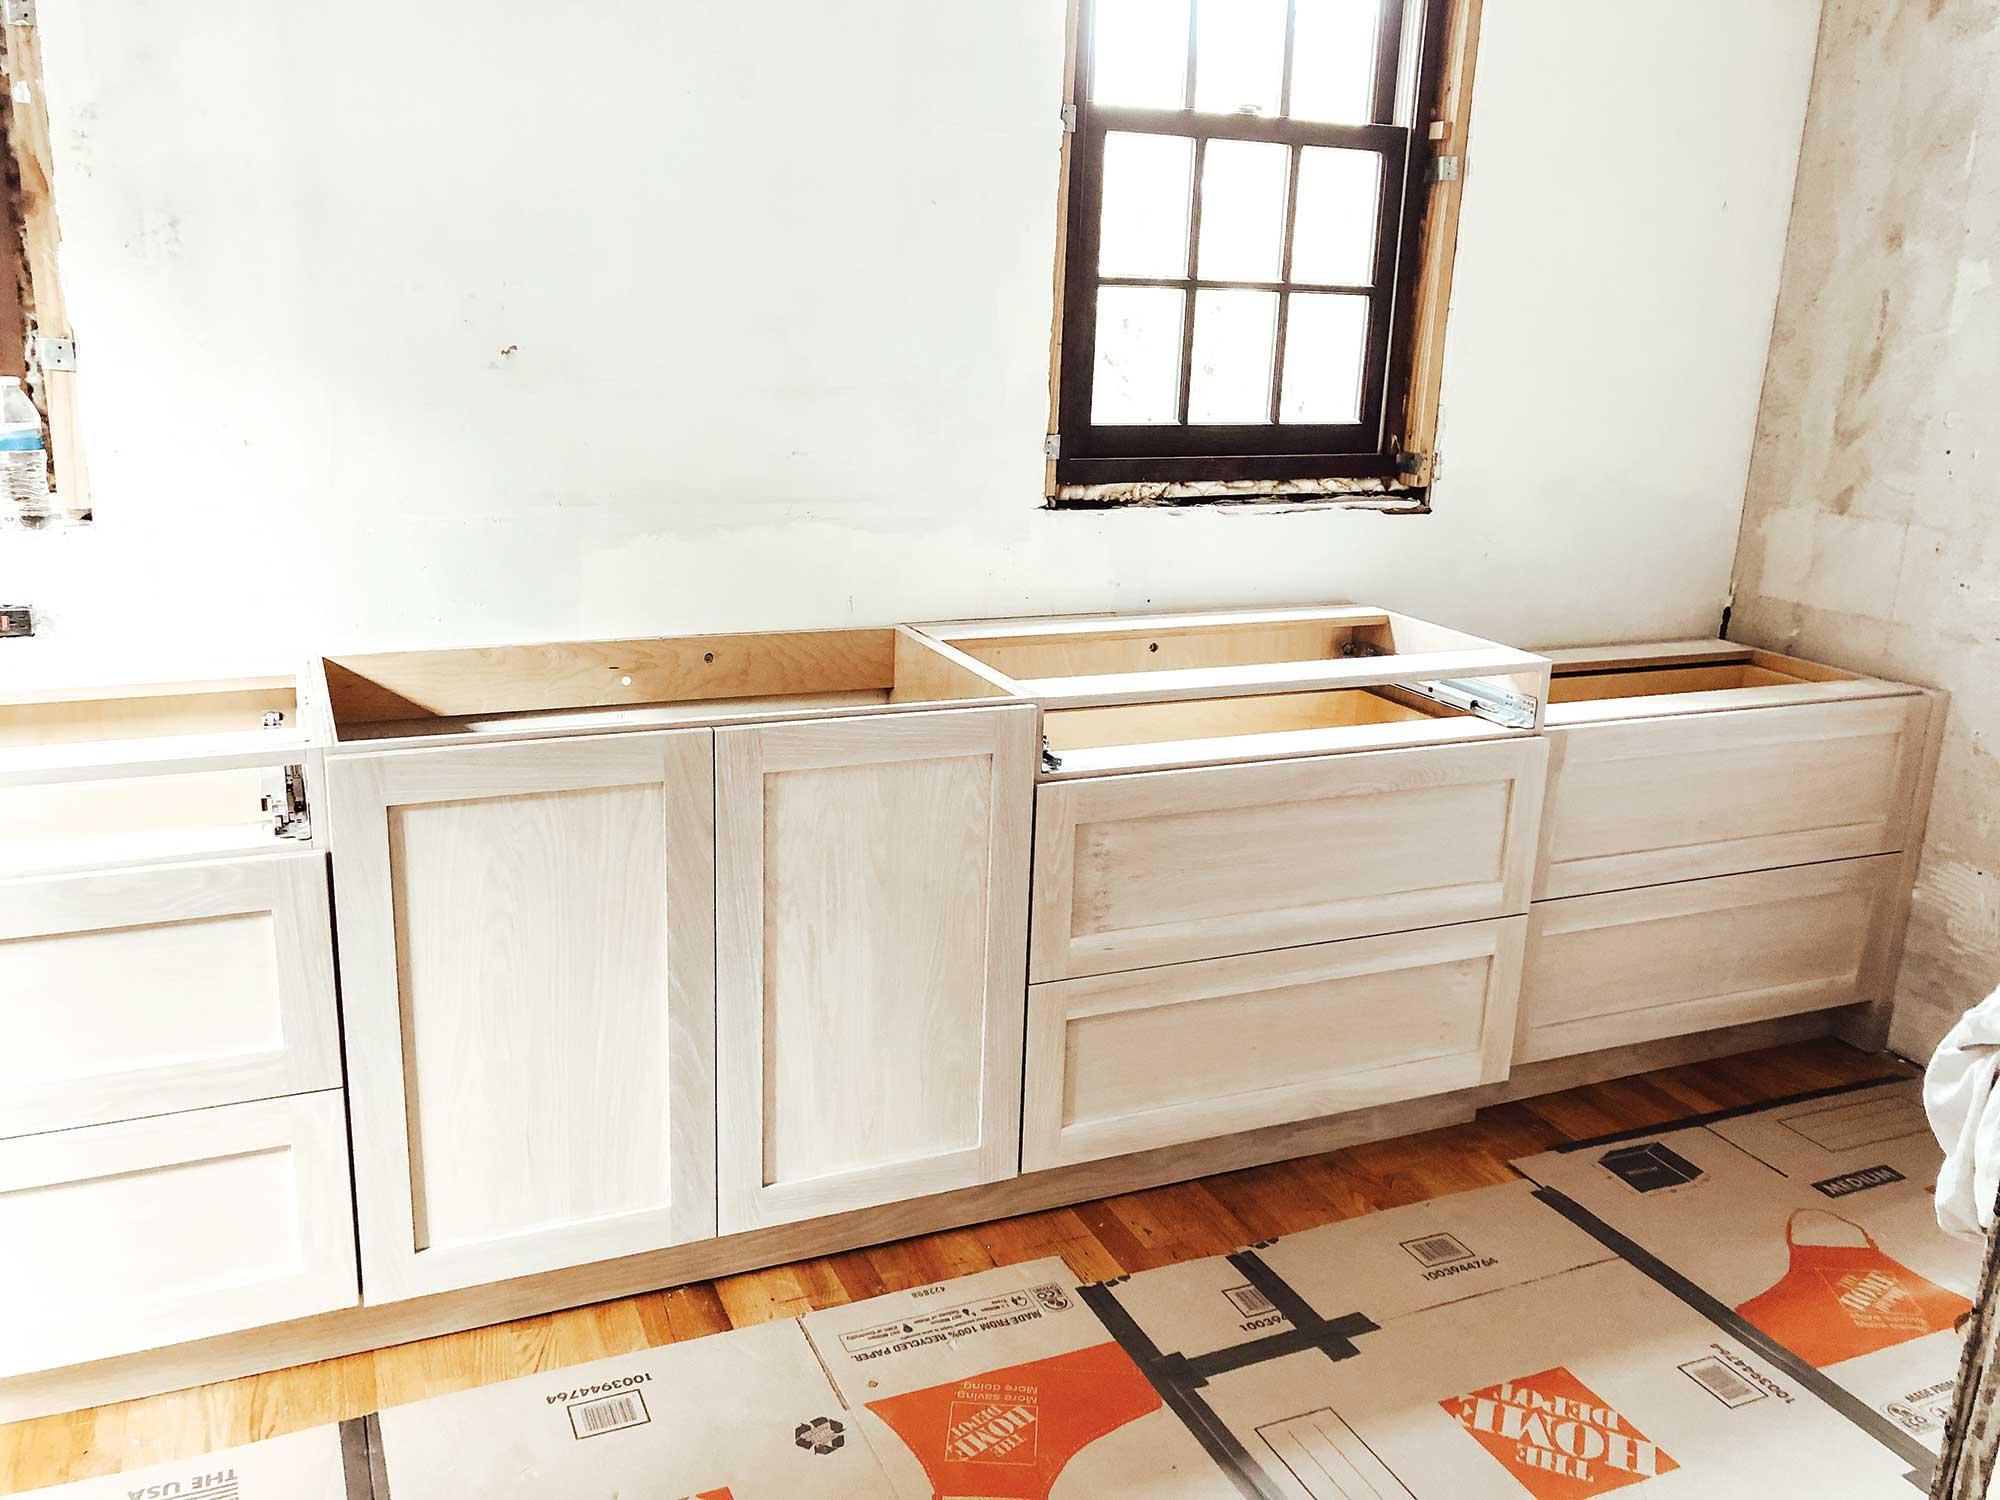
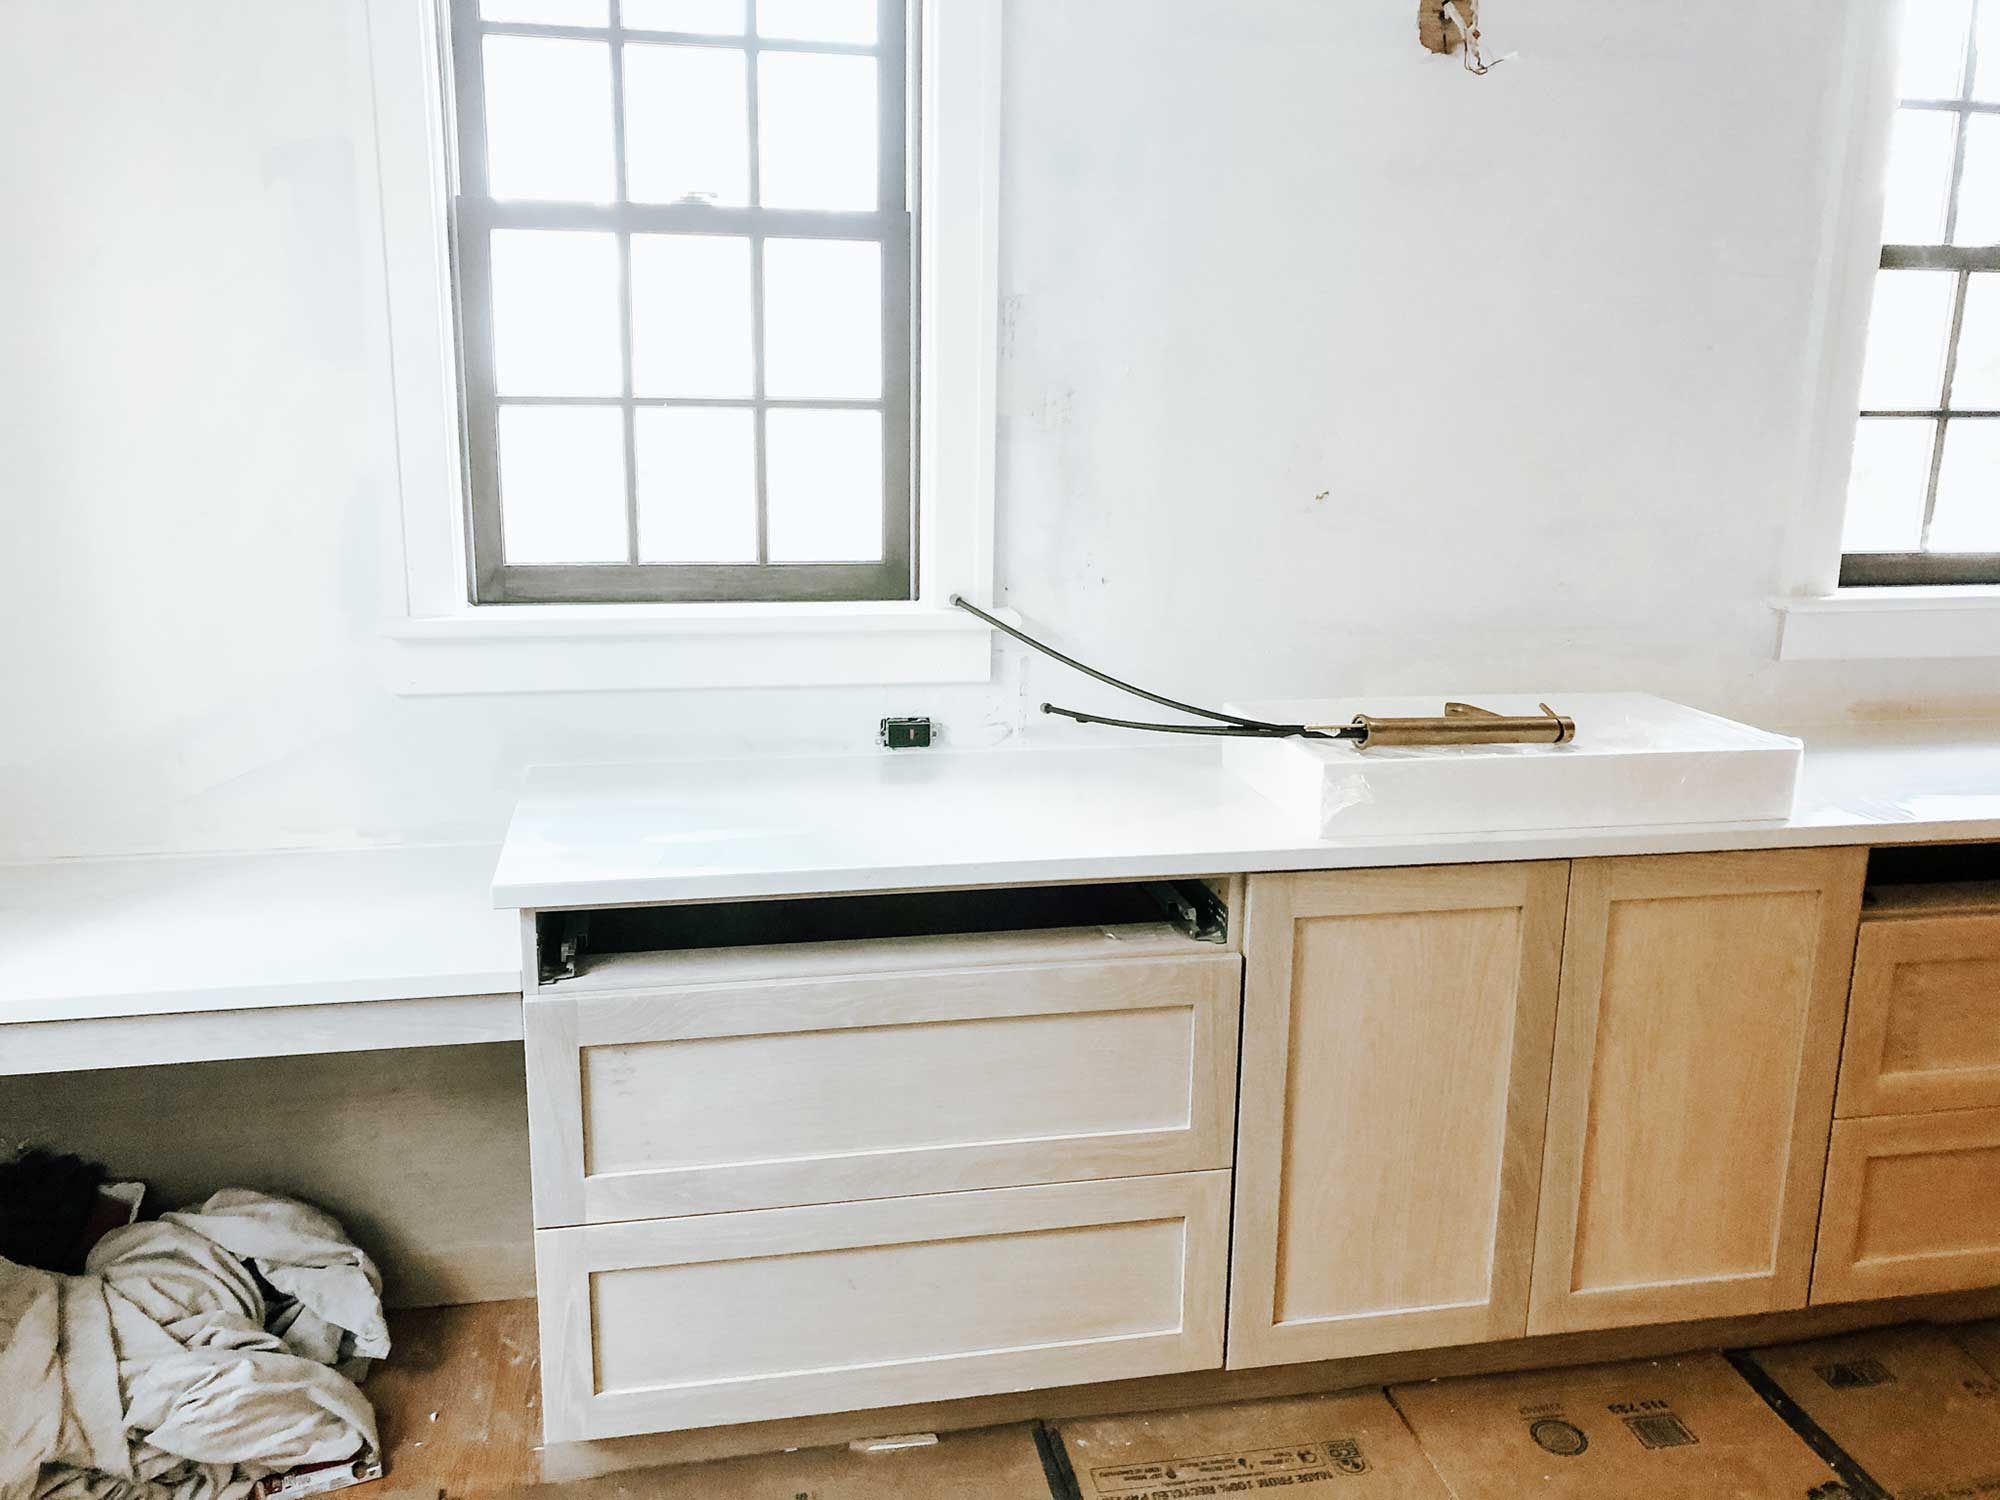
Completely eliminating the upper cabinets provided a much more open design that allows the eye to flow now. We chose a whitewash stain over flat cut white oak for the cabinets. This lighter color suits the space so well now. To top it off we chose Silestone in calacatta gold suede for the countertops. We’ve paired a beautiful and long white vessel sink with a brass faucet. And this space will get a round mirror plus amazing-looking sconces from Cedar and Moss.
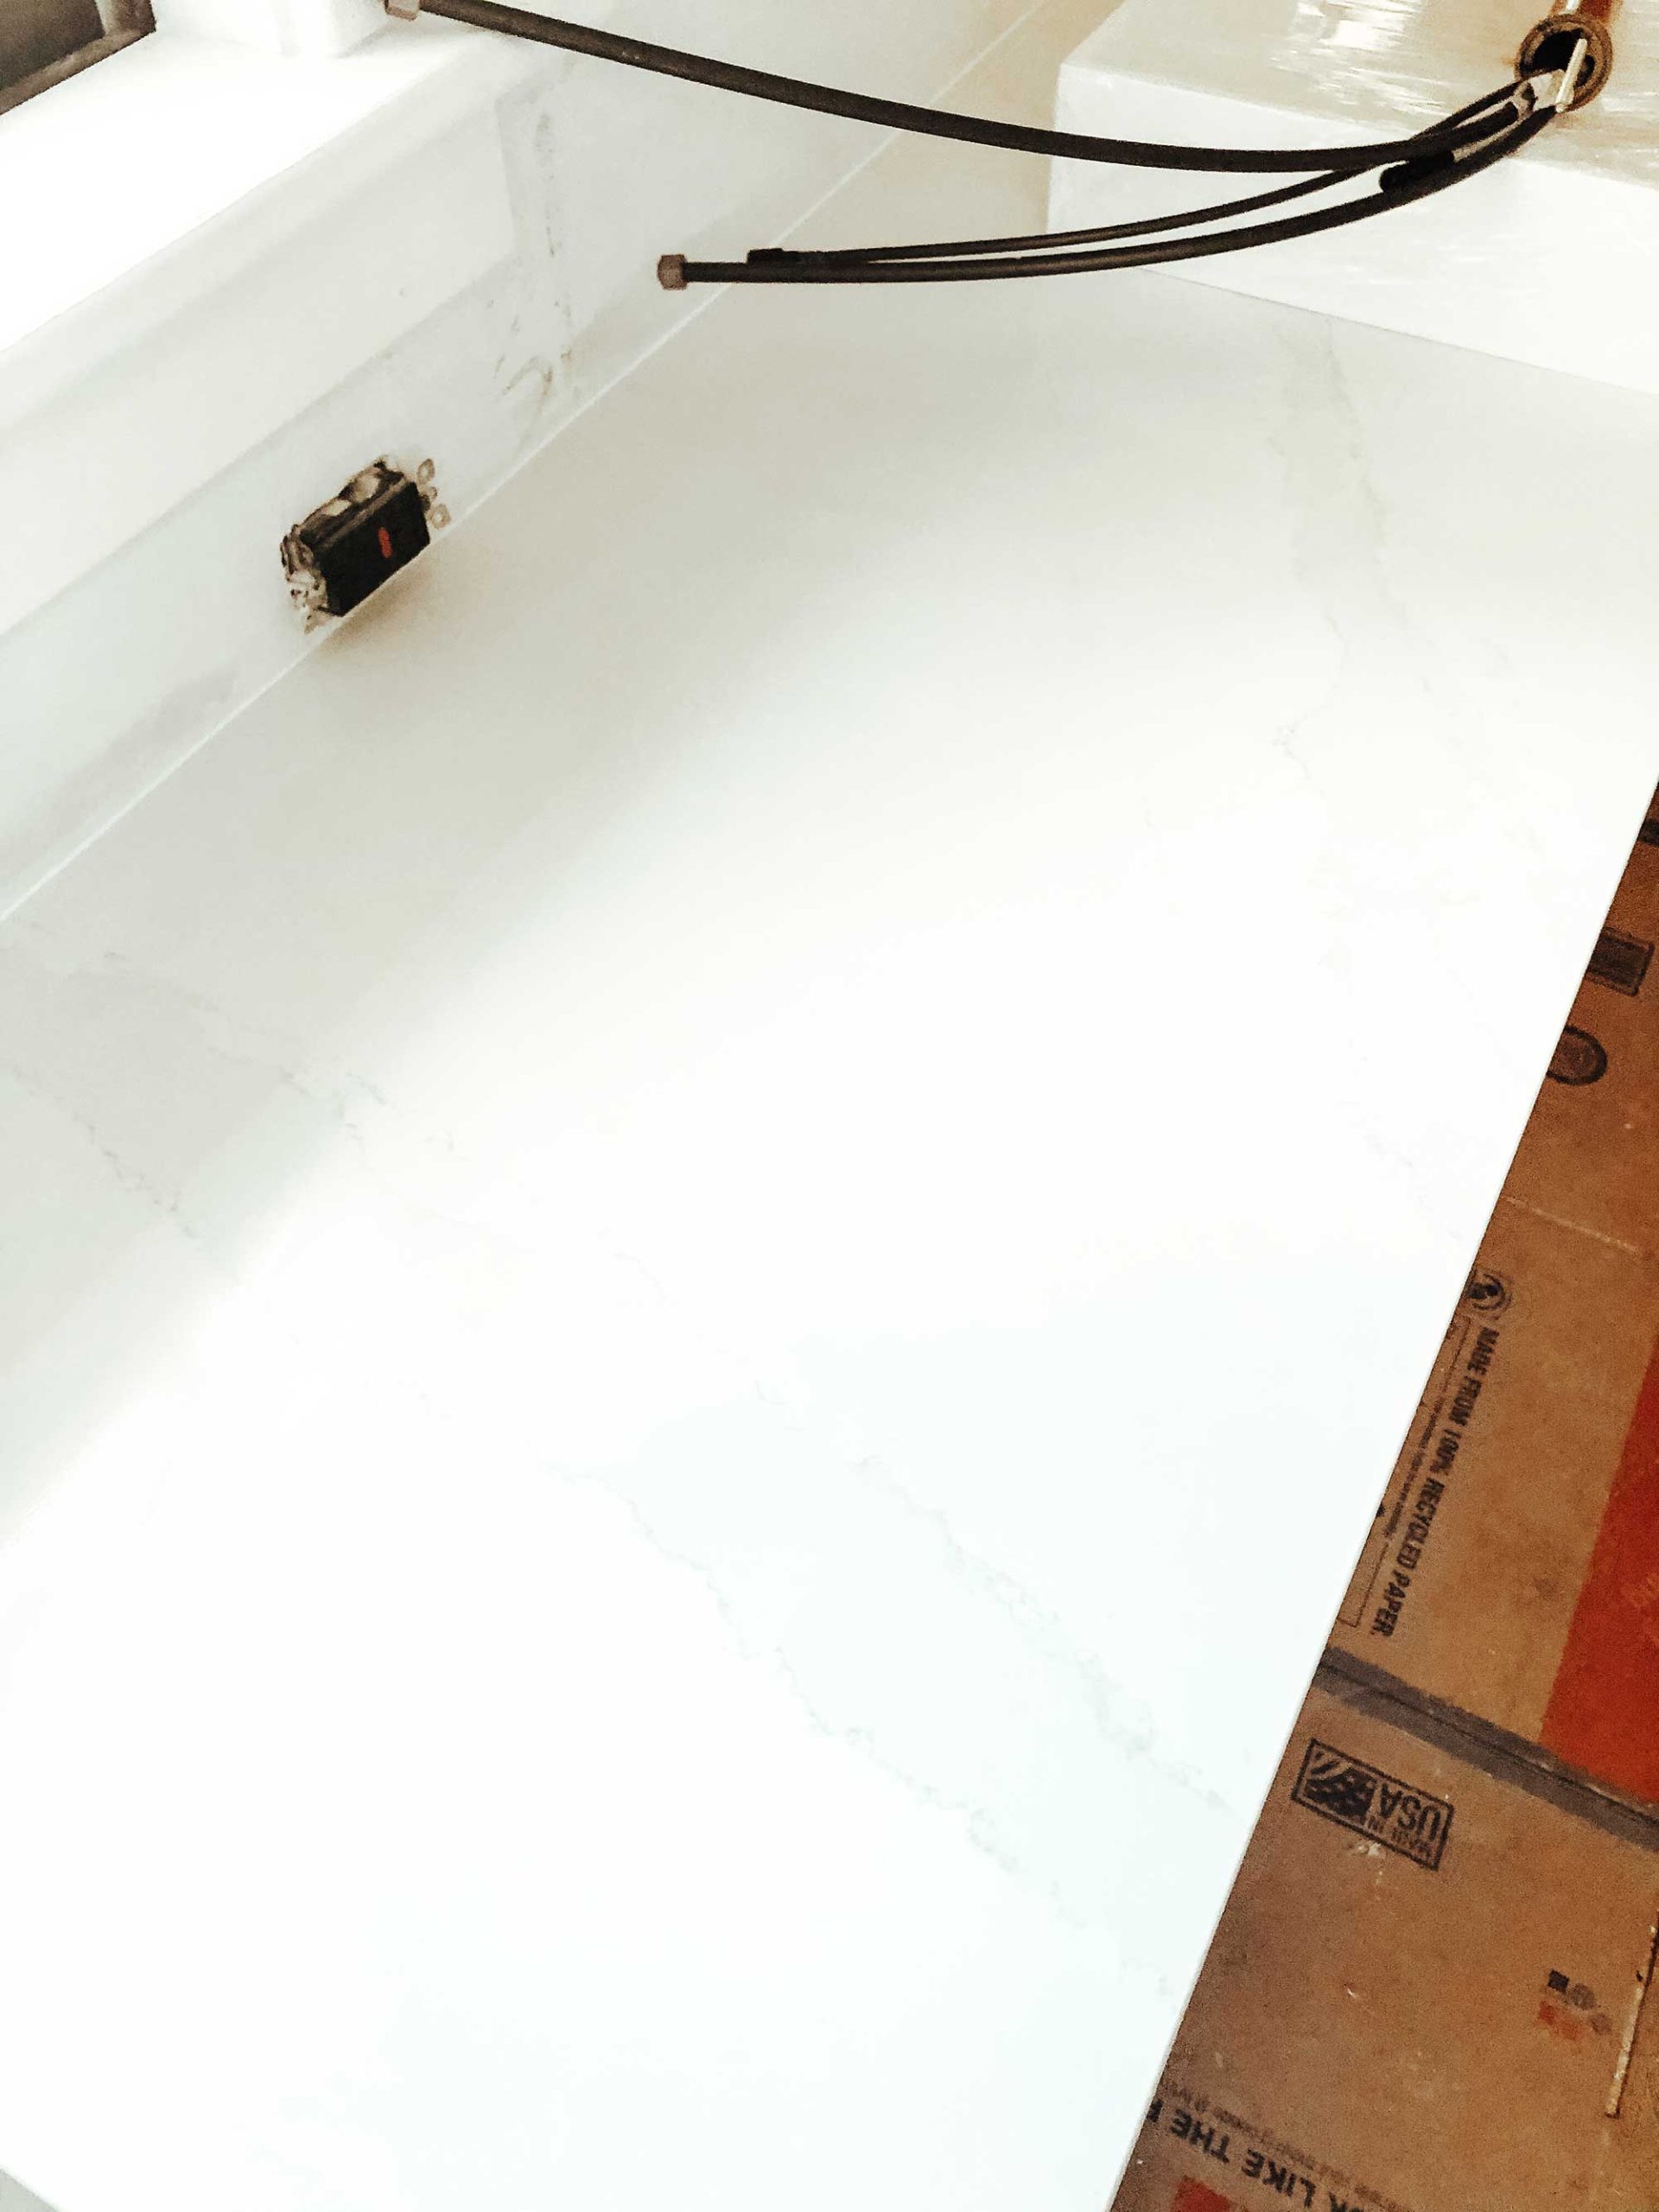
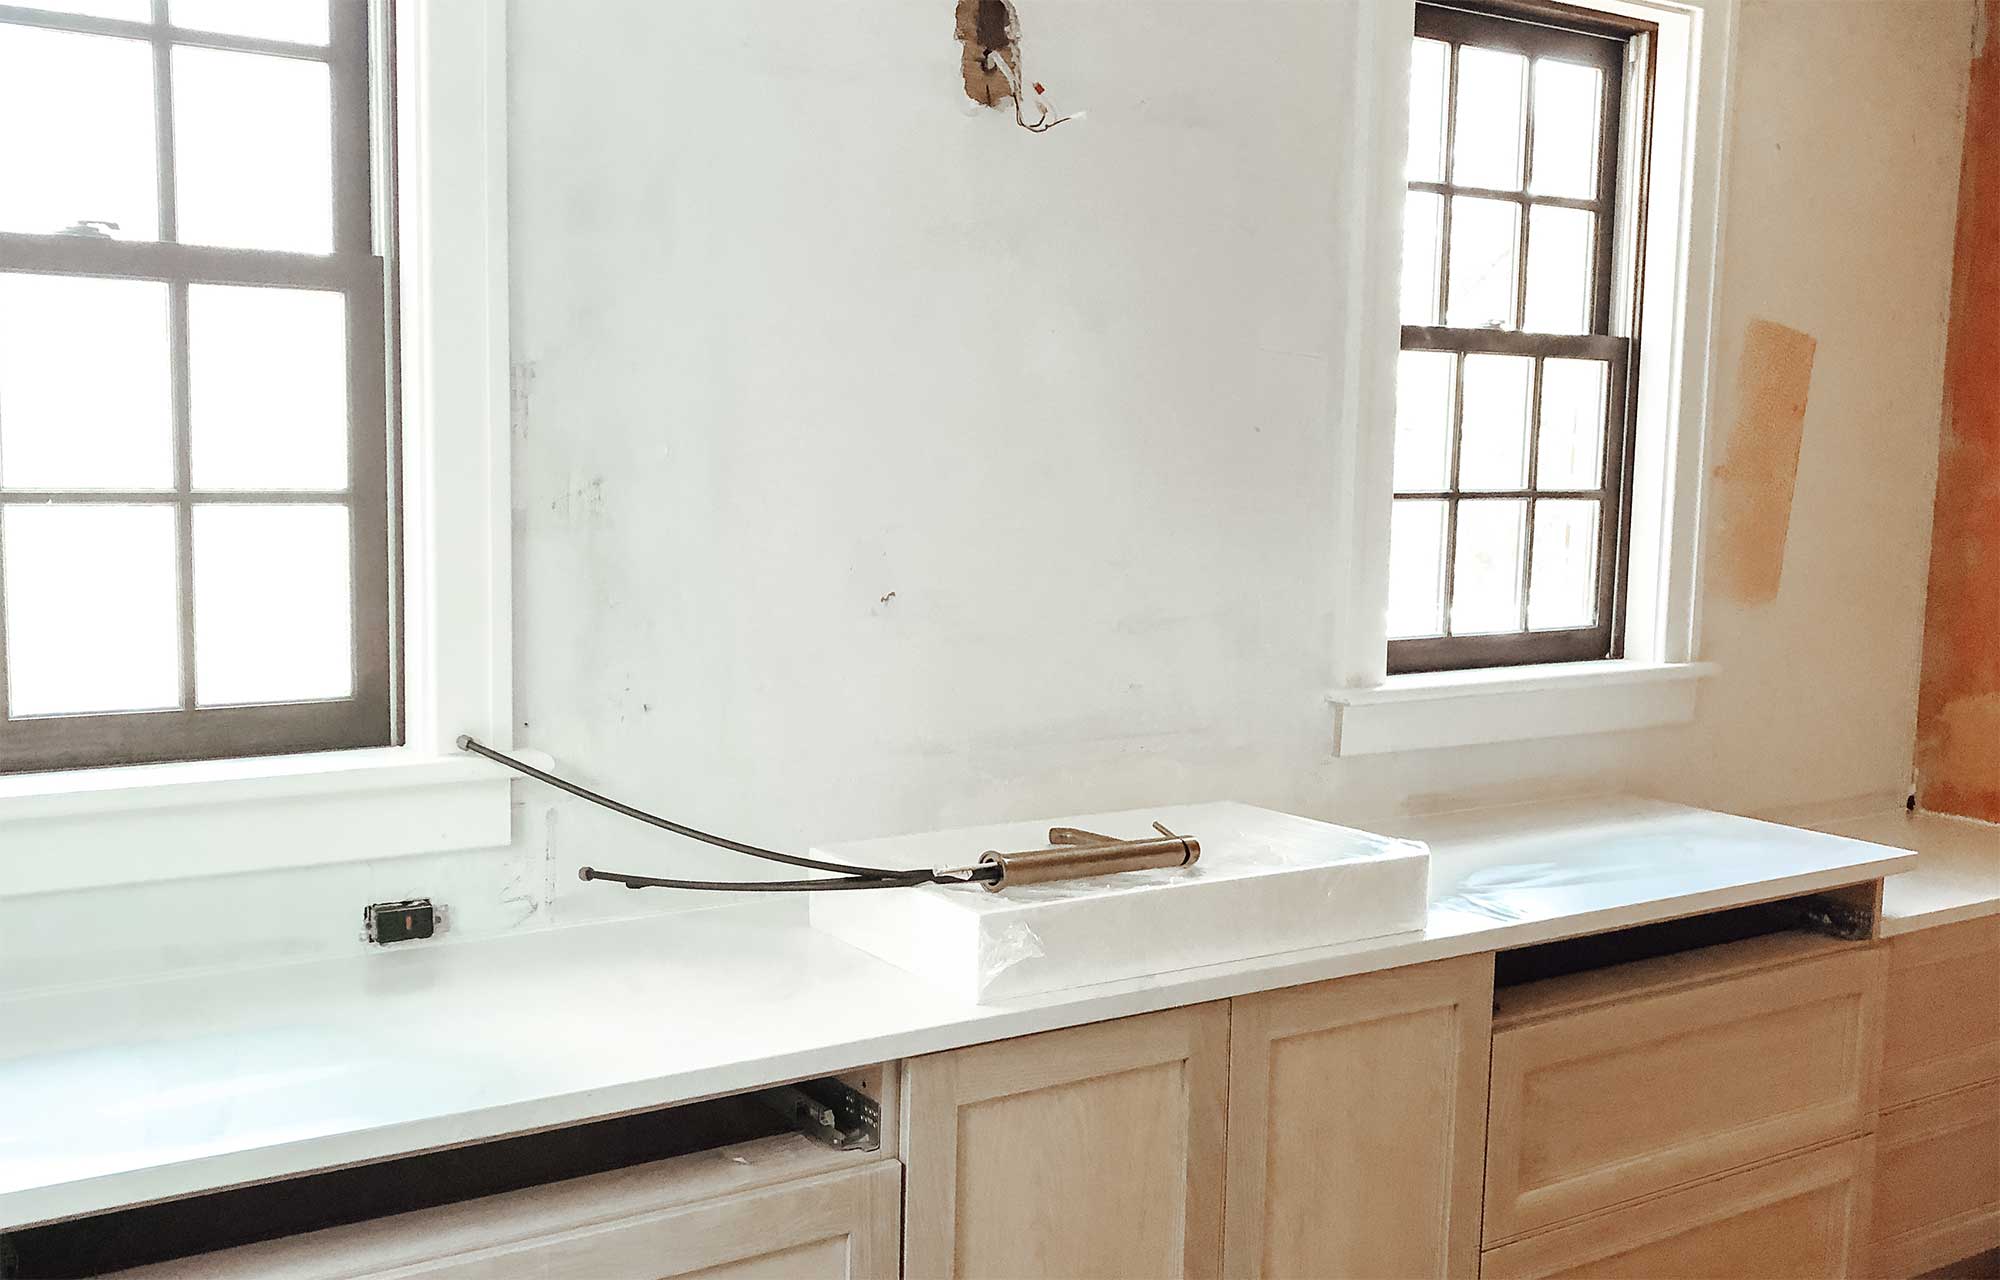
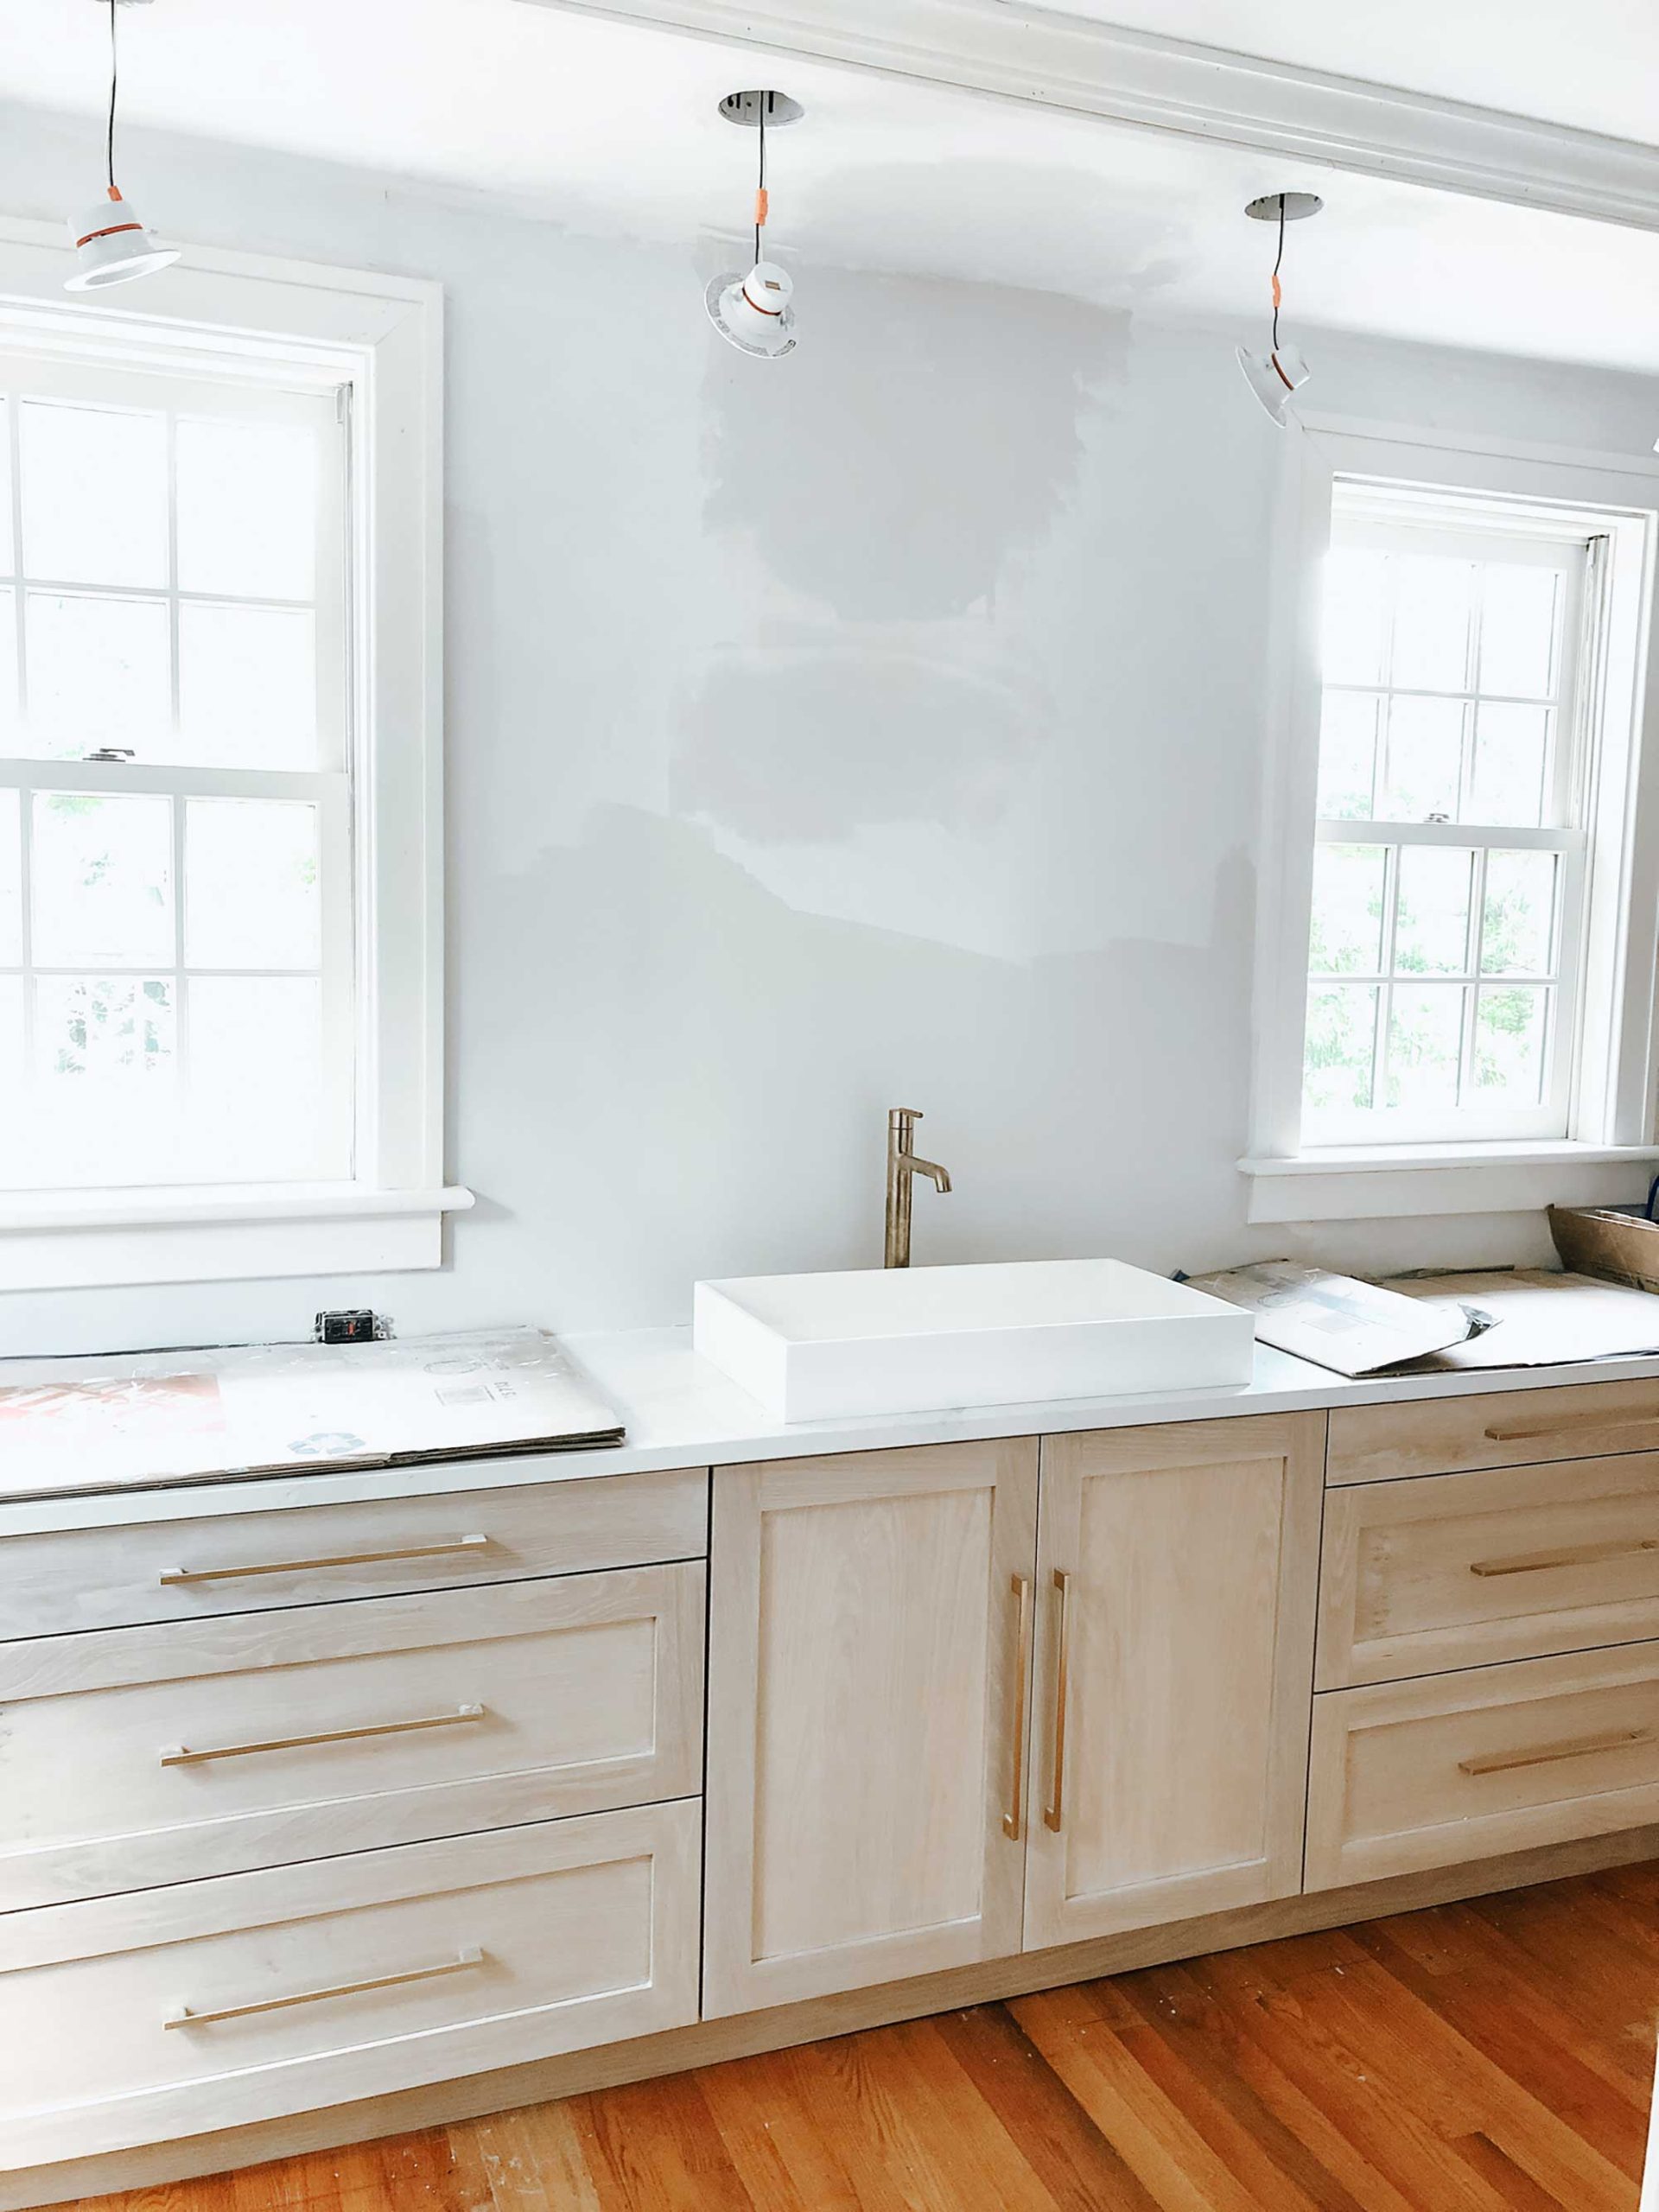
I am loving this progress shot above and can’t wait to share more about this fun bathroom project in the upcoming weeks. Visit here to see more behind the scenes.
And to get design-inspired visit my past projects here.
PS: did you know I can help you design your space too. Click here to start your process.

1 comment
Pingback:Shower Renovation Process – Made by Patchi