How to Hang a Map
What do you do when you meet an oversized wall when designing a room? In keeping with my minimal decorating style, I believe some walls should be left alone. However, I also believe that walls must make a statement. When we designed #clientkoko guest bedroom last year, I wasn’t sure what I was going to do with one of the large walls. But then, after reviewing some of the artwork #clientkoko had stored at her house, it was the big bright map of Brazil that caught my eye. And guess what? It turns out that this map of Brazil was a family gift. It belonged to a Swedish school. Now, considering the owners are Brazilian and Swedish, it’s safe to say that this map had to find a prime spot in this house.
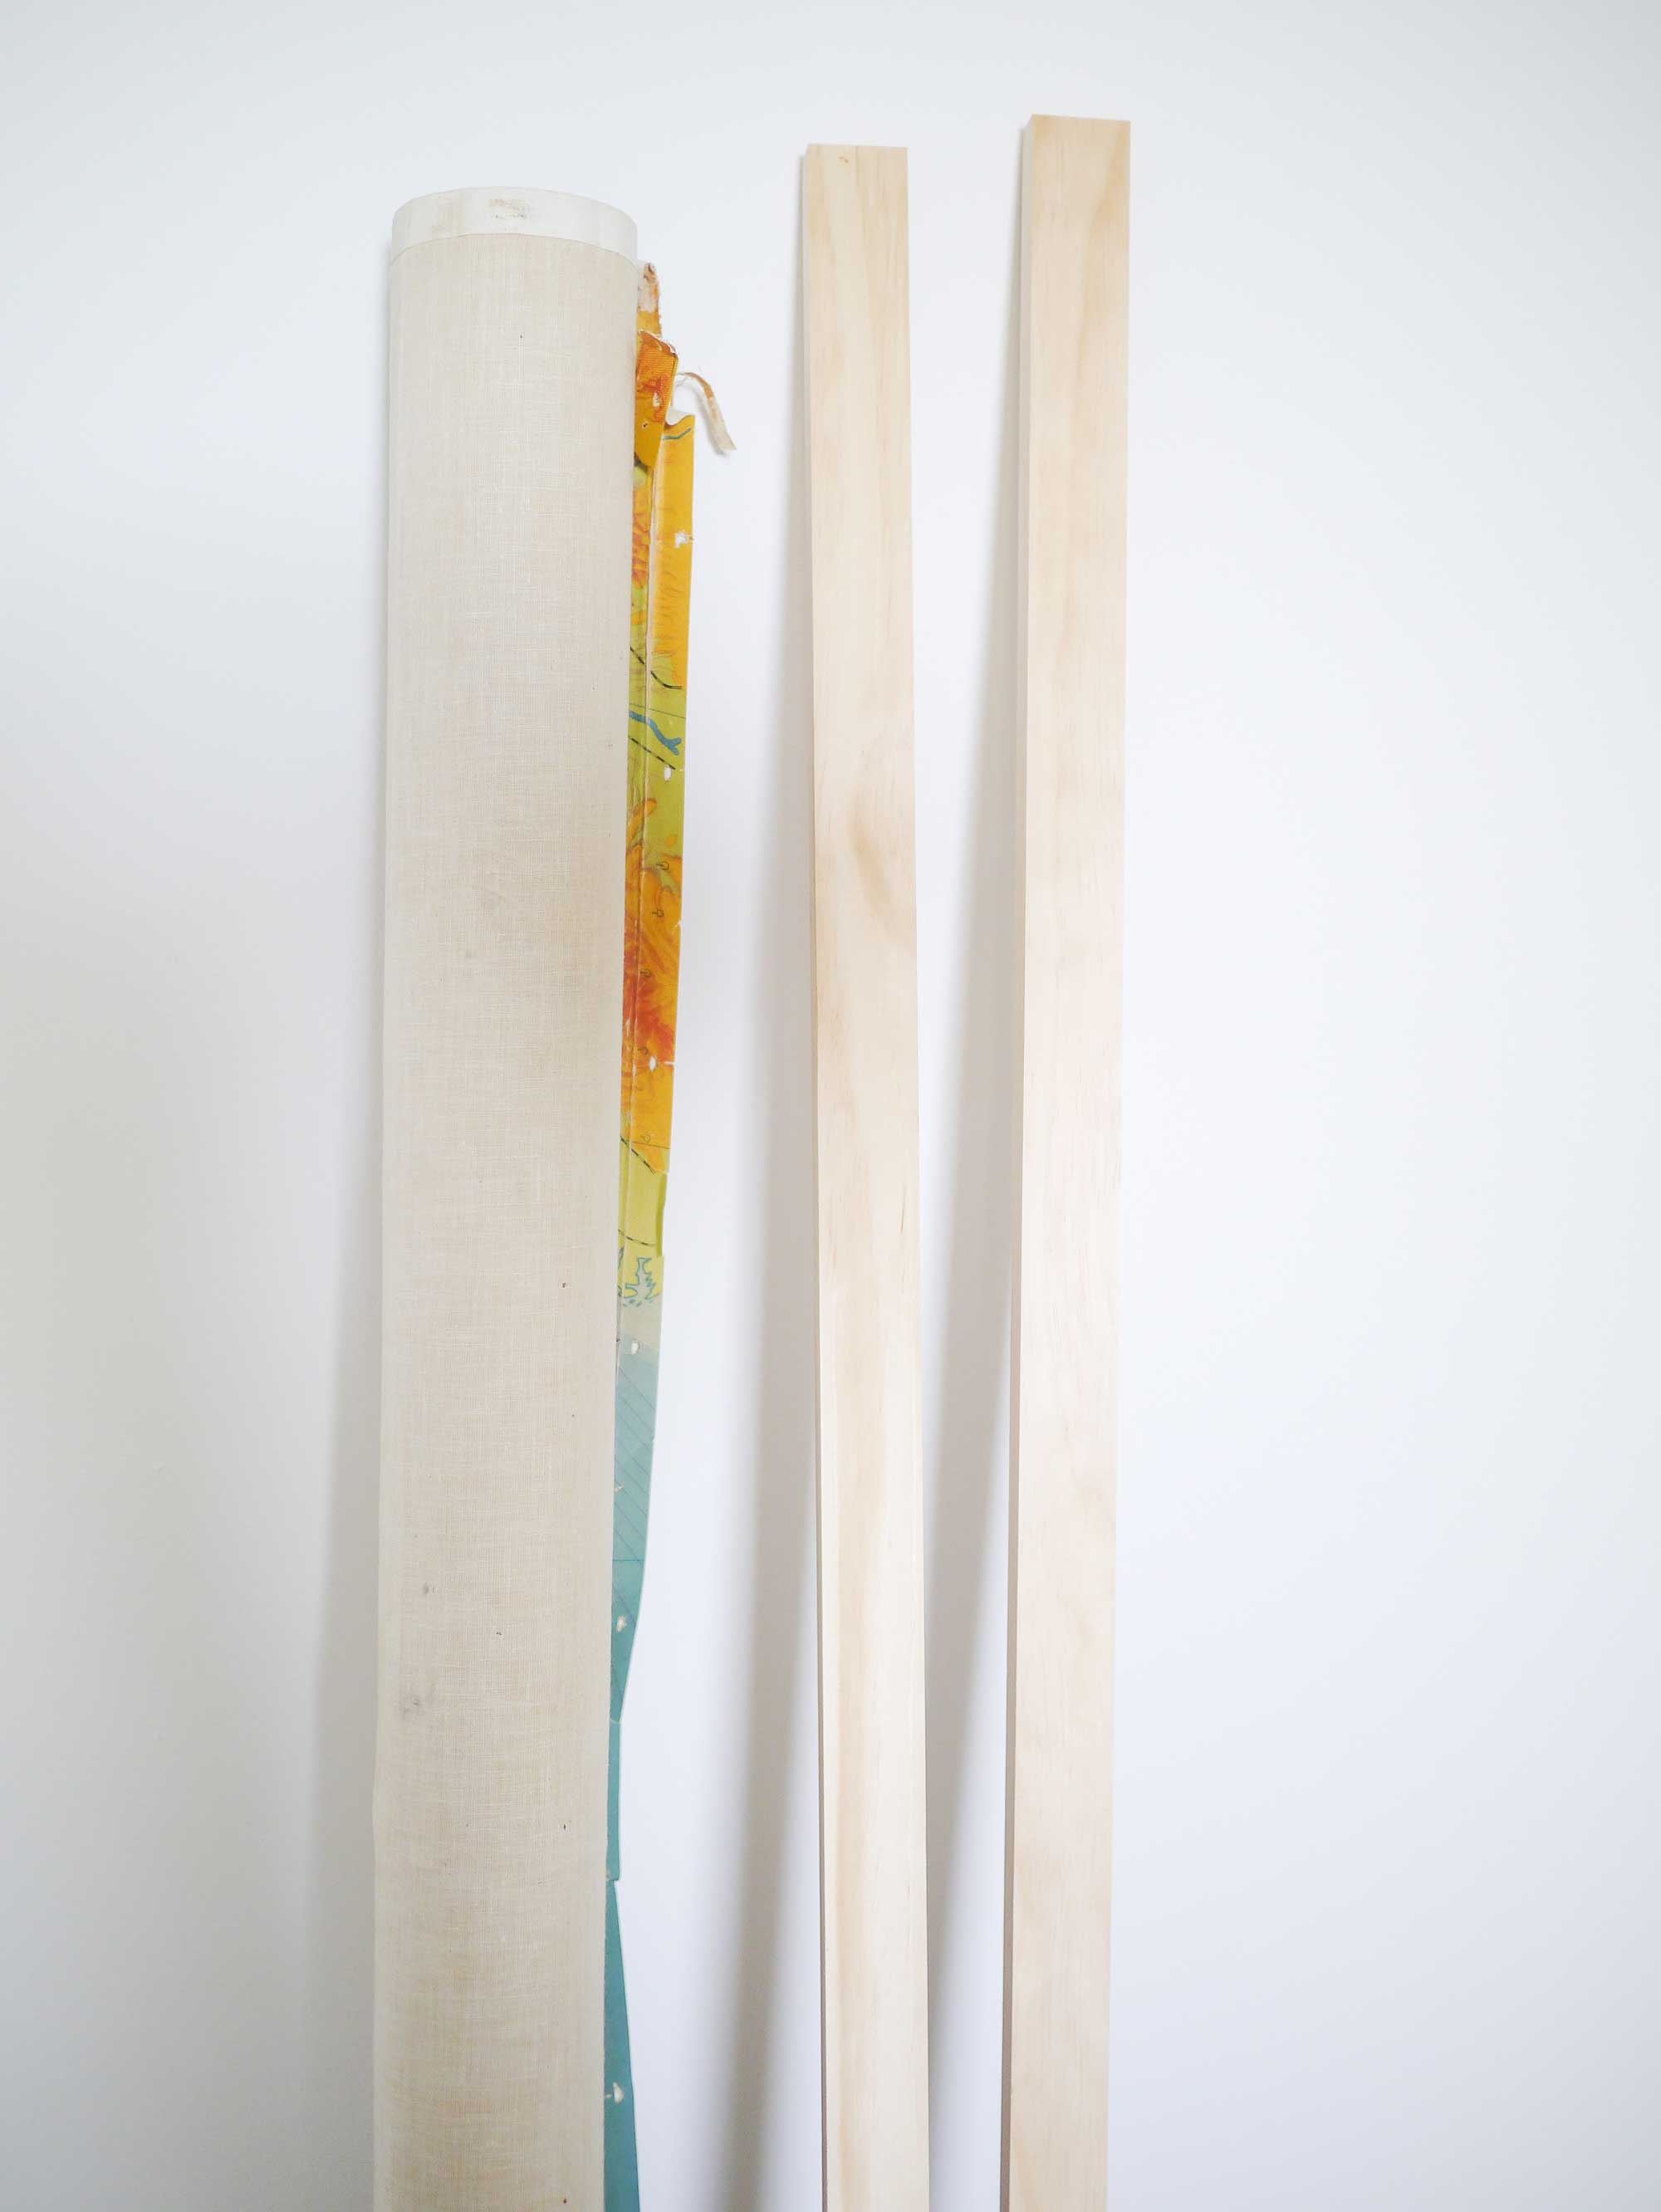
After we chose the right artwork for this space, we were now faced with another dilemma. What exactly is the best way to display a large map? How to hang a map? Those were a few of the questions. We didn’t want an expensive frame. Instead, we decided to hang it with pieces of wood, one at the top of the map and another one at the bottom. So we hit the hardware store in search of wood and stain to hang this interesting piece.
How to Hang a Map
– Get your supplies from a hardware store near you. We got a wood stain color that matched the color of the bed frame. We also got 1.25 x .75″ maple wood strips. Each wood strip measured 2 inches longer than the length of the map.
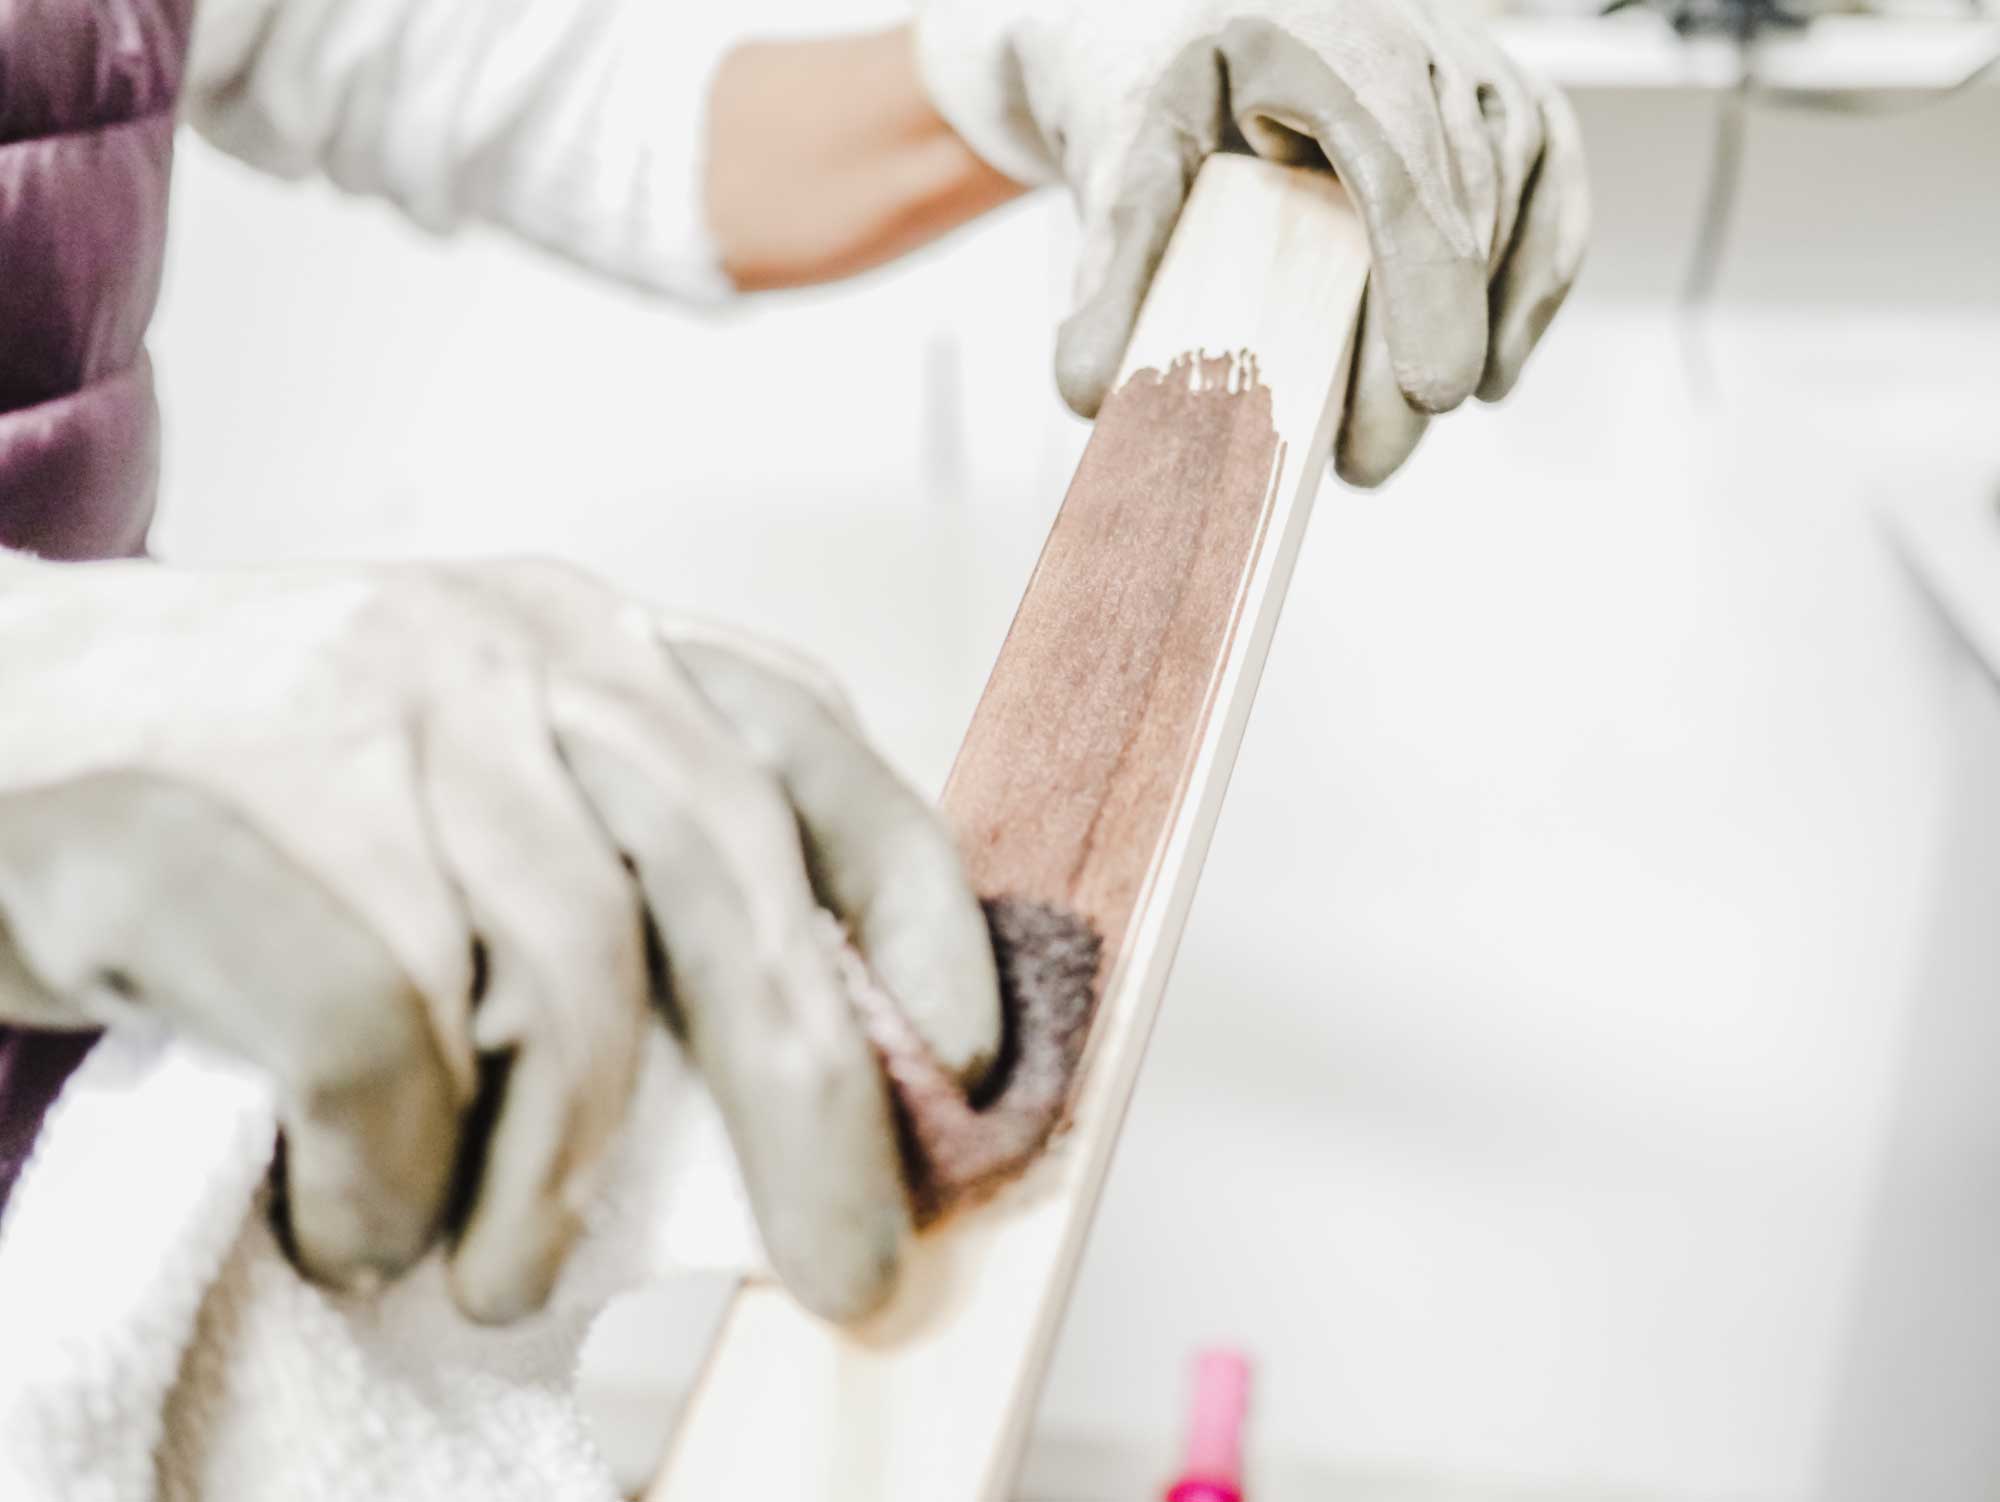
– With materials in hand, we stained all sides of the wood strips. Applying stain to every face of the wood strip prevents it from warping in the future.
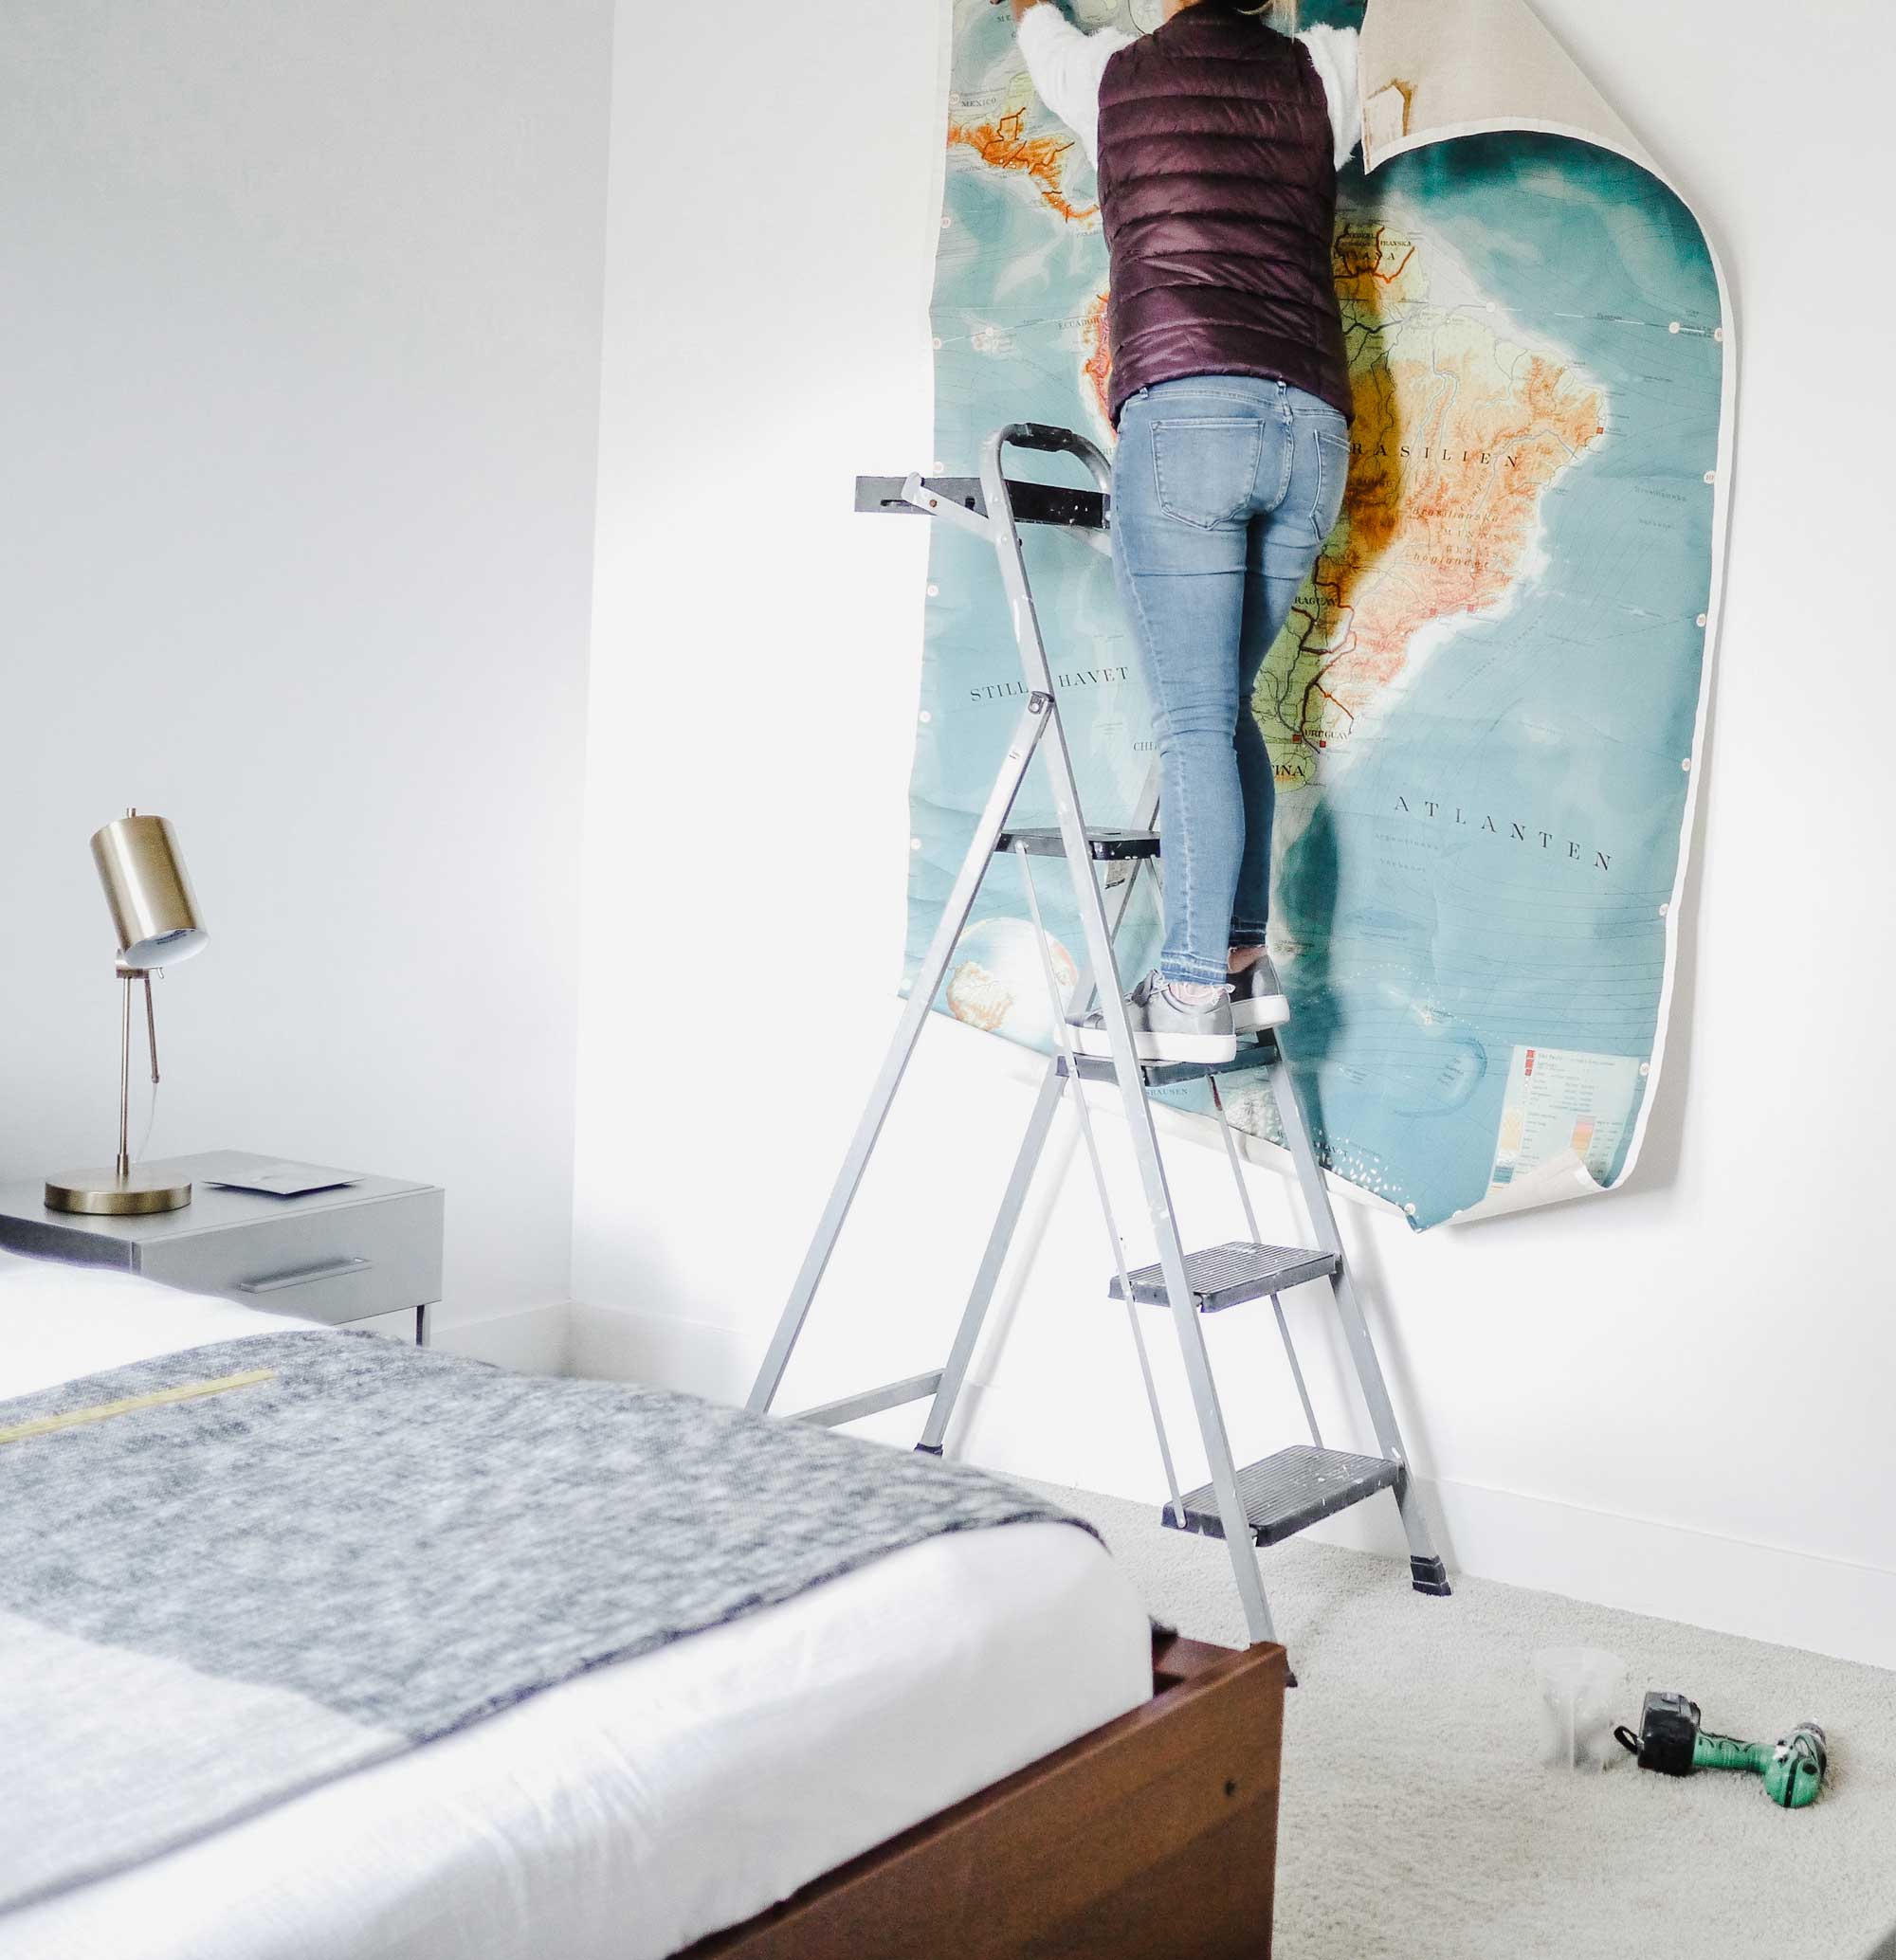
– The first task and the hardest one was to make sure the map wasn’t crooked. First, we attached the top wood piece to the wall without the map. The best way to find out if the wood was leveled was to place the level above the wood piece. And then, only after finding the correct level, we screwed the wood piece into the wall. We traced a line at the top of the wood and removed the piece from the wall. Following the line on the wall, we aligned and taped the map to the wall so it would stay in place. After the map was secure (we definitely needed two people for this part), we went back and screwed the wood back on the wall.
– The bottom piece was much easier. Since the map was already in place, we just had to attach the piece of wood always keeping an eye on the level.
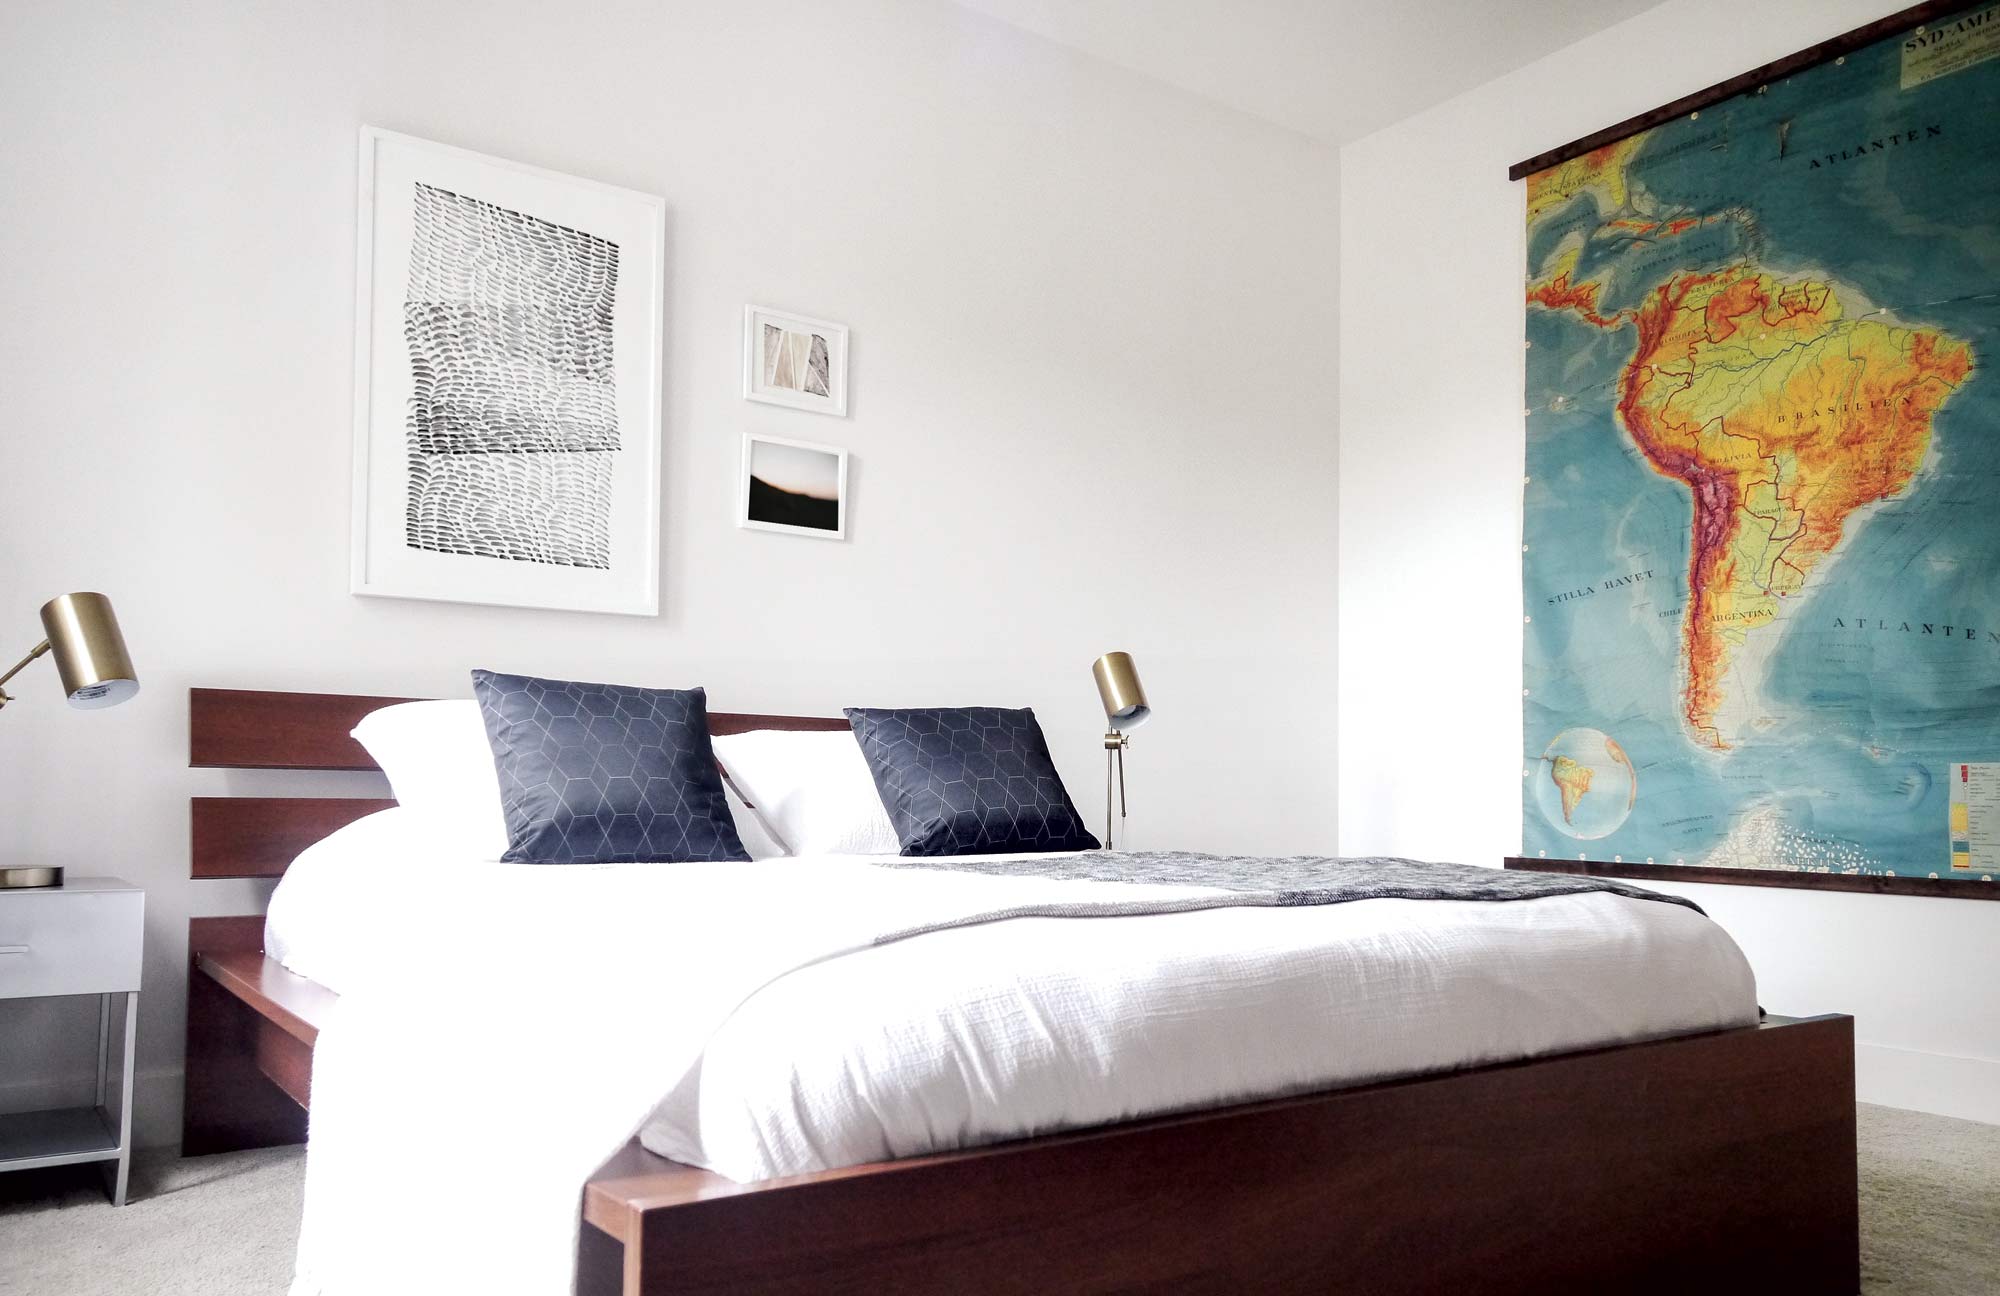
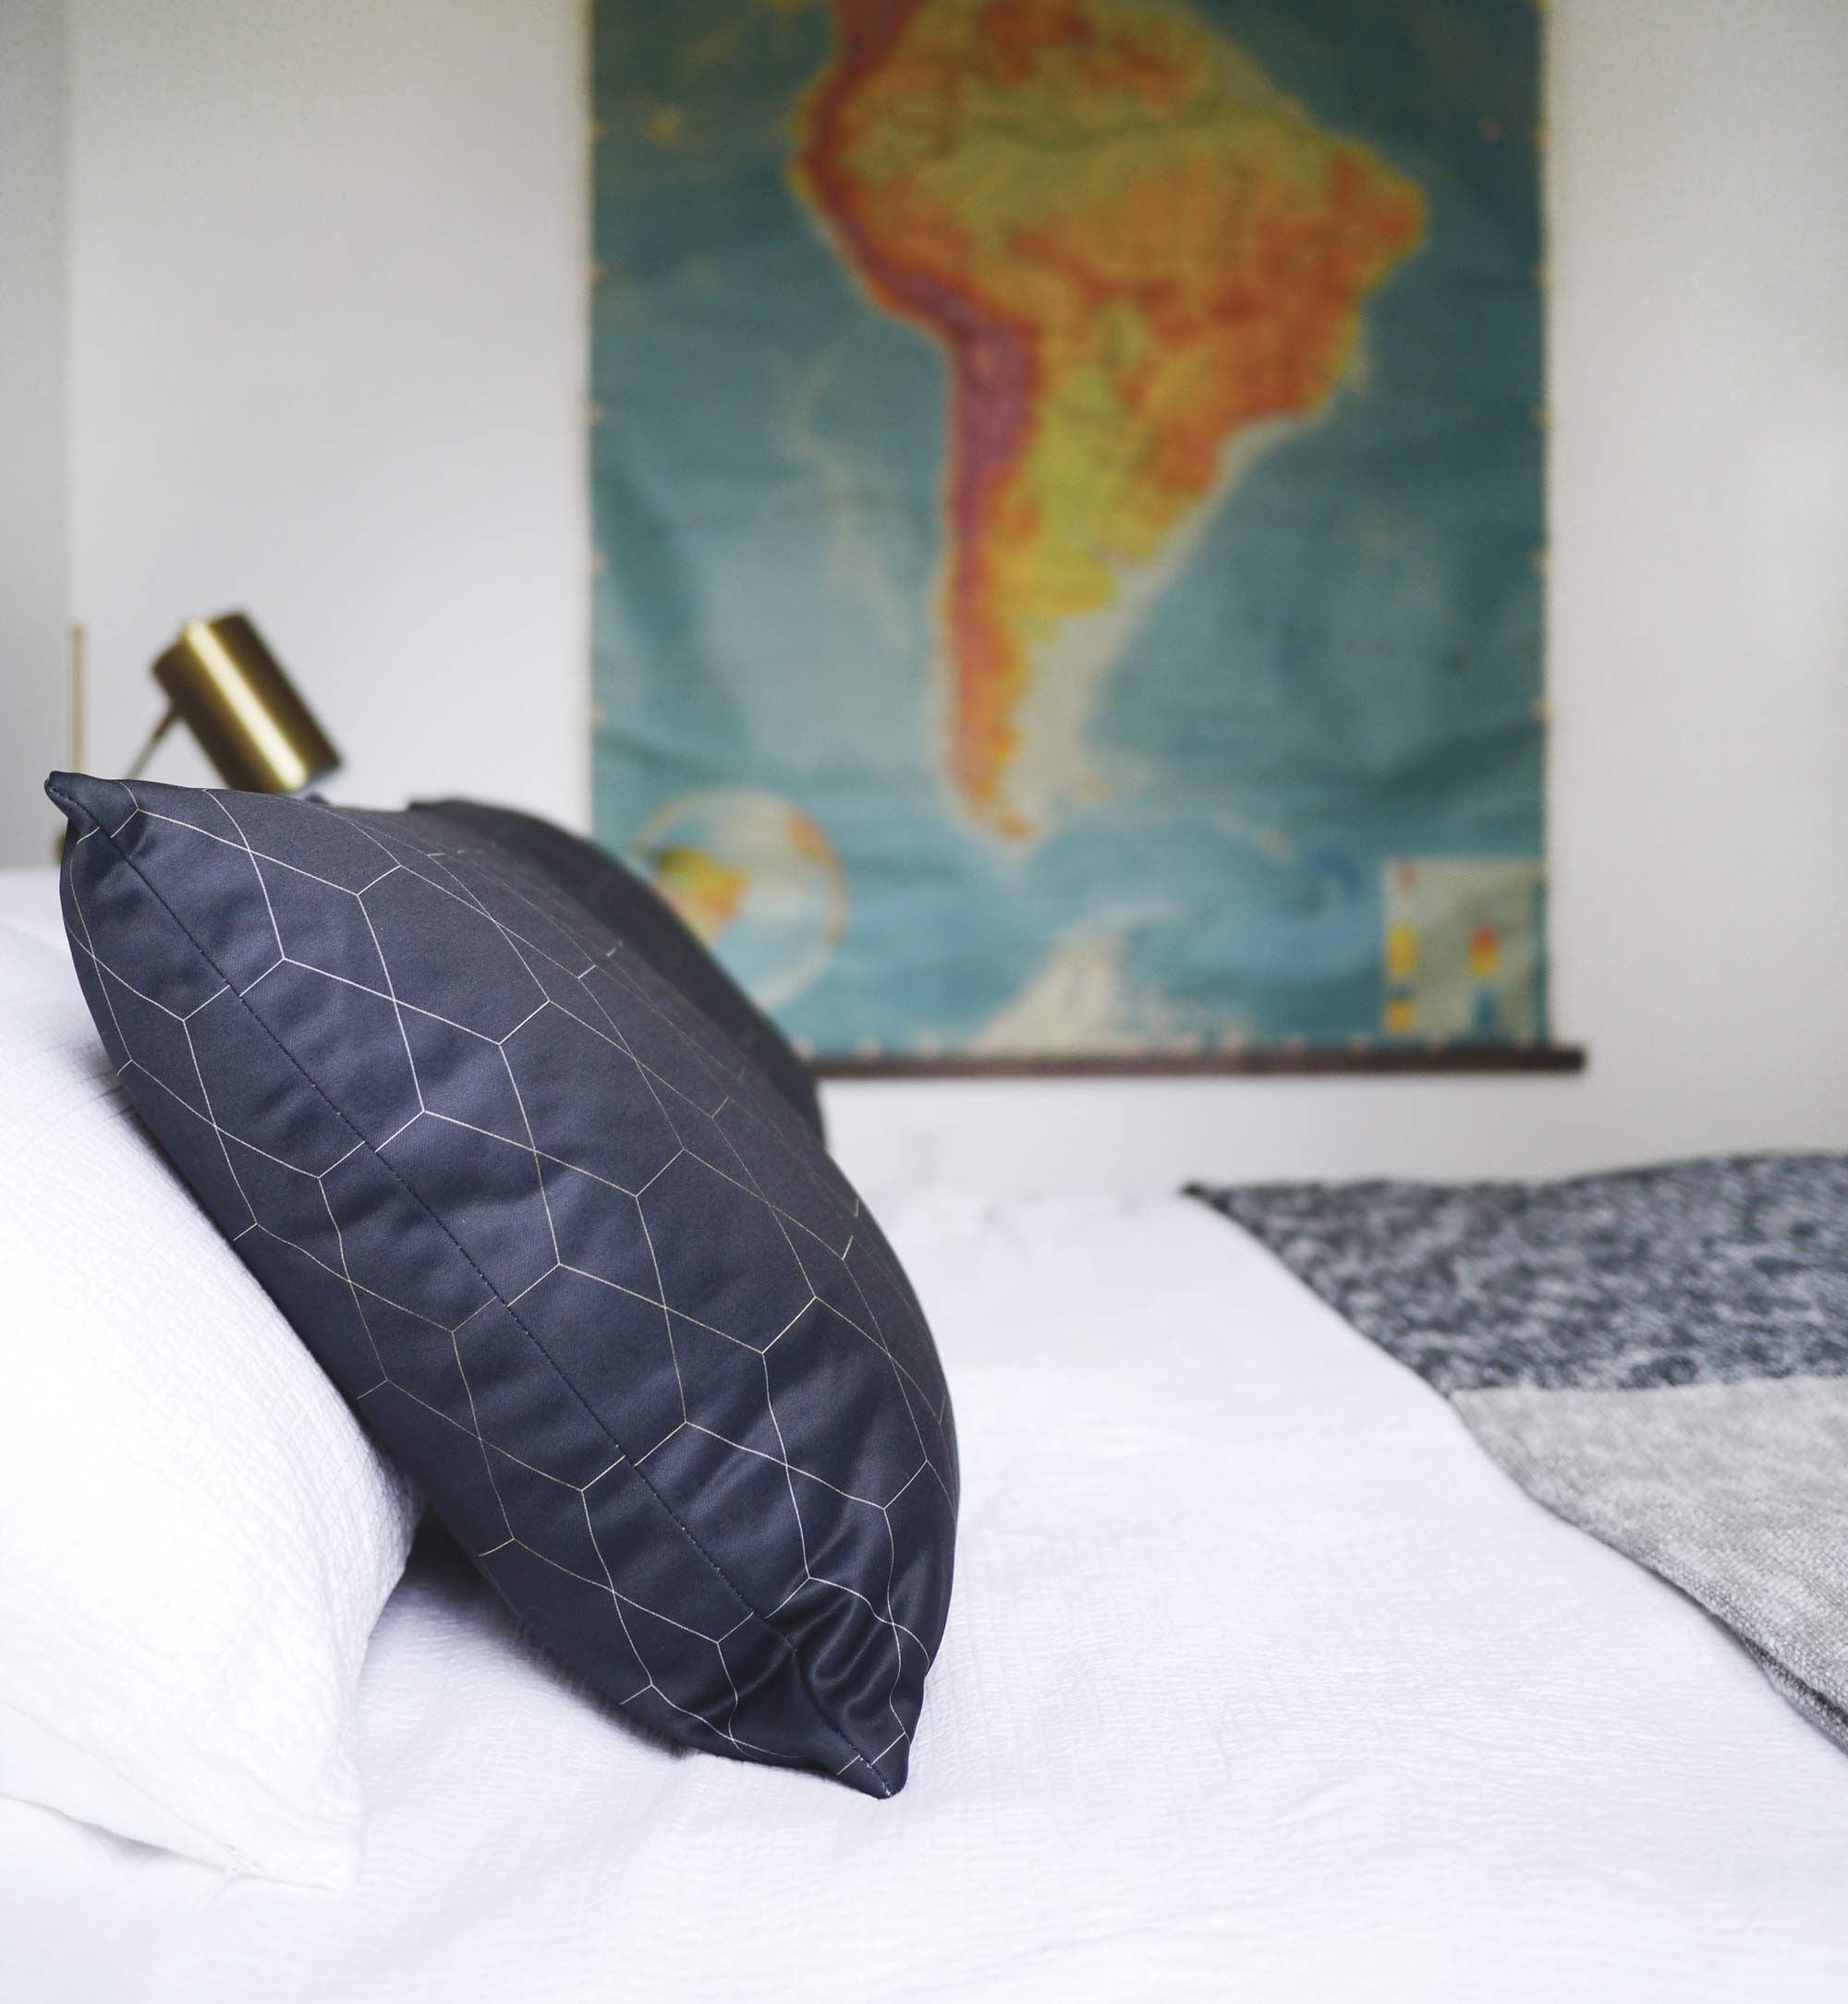
We loved how the map worked in the space. If you want to take a peek into this beautiful guest room, visit here. And there are plenty of other rooms to tour here.
And don’t forget to connect with us here. Come say hi! Follow us and get 10% off your next purchase.

