Airstream Holding Tanks
I have been learning about every single detail inside this iconic trailer. The different holding tanks, the framing, how to make the plumbing work, how to plan electrical rough-in, adding solar panels, window restoration, and the list goes on and on.
With every phase of this project comes a new lesson. Have you ever heard of spin welding? Well, I had not until I decided to renovate this 1969 Airstream beauty.
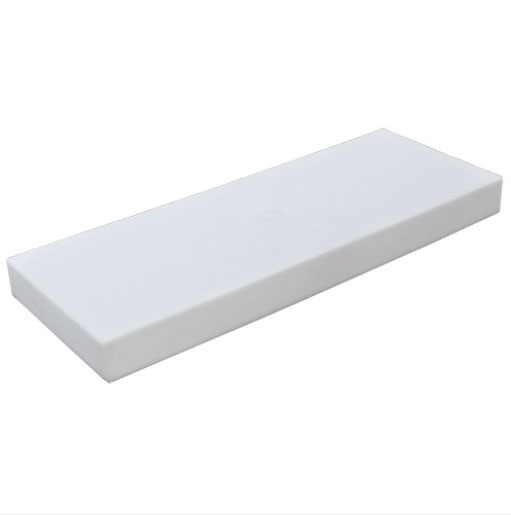
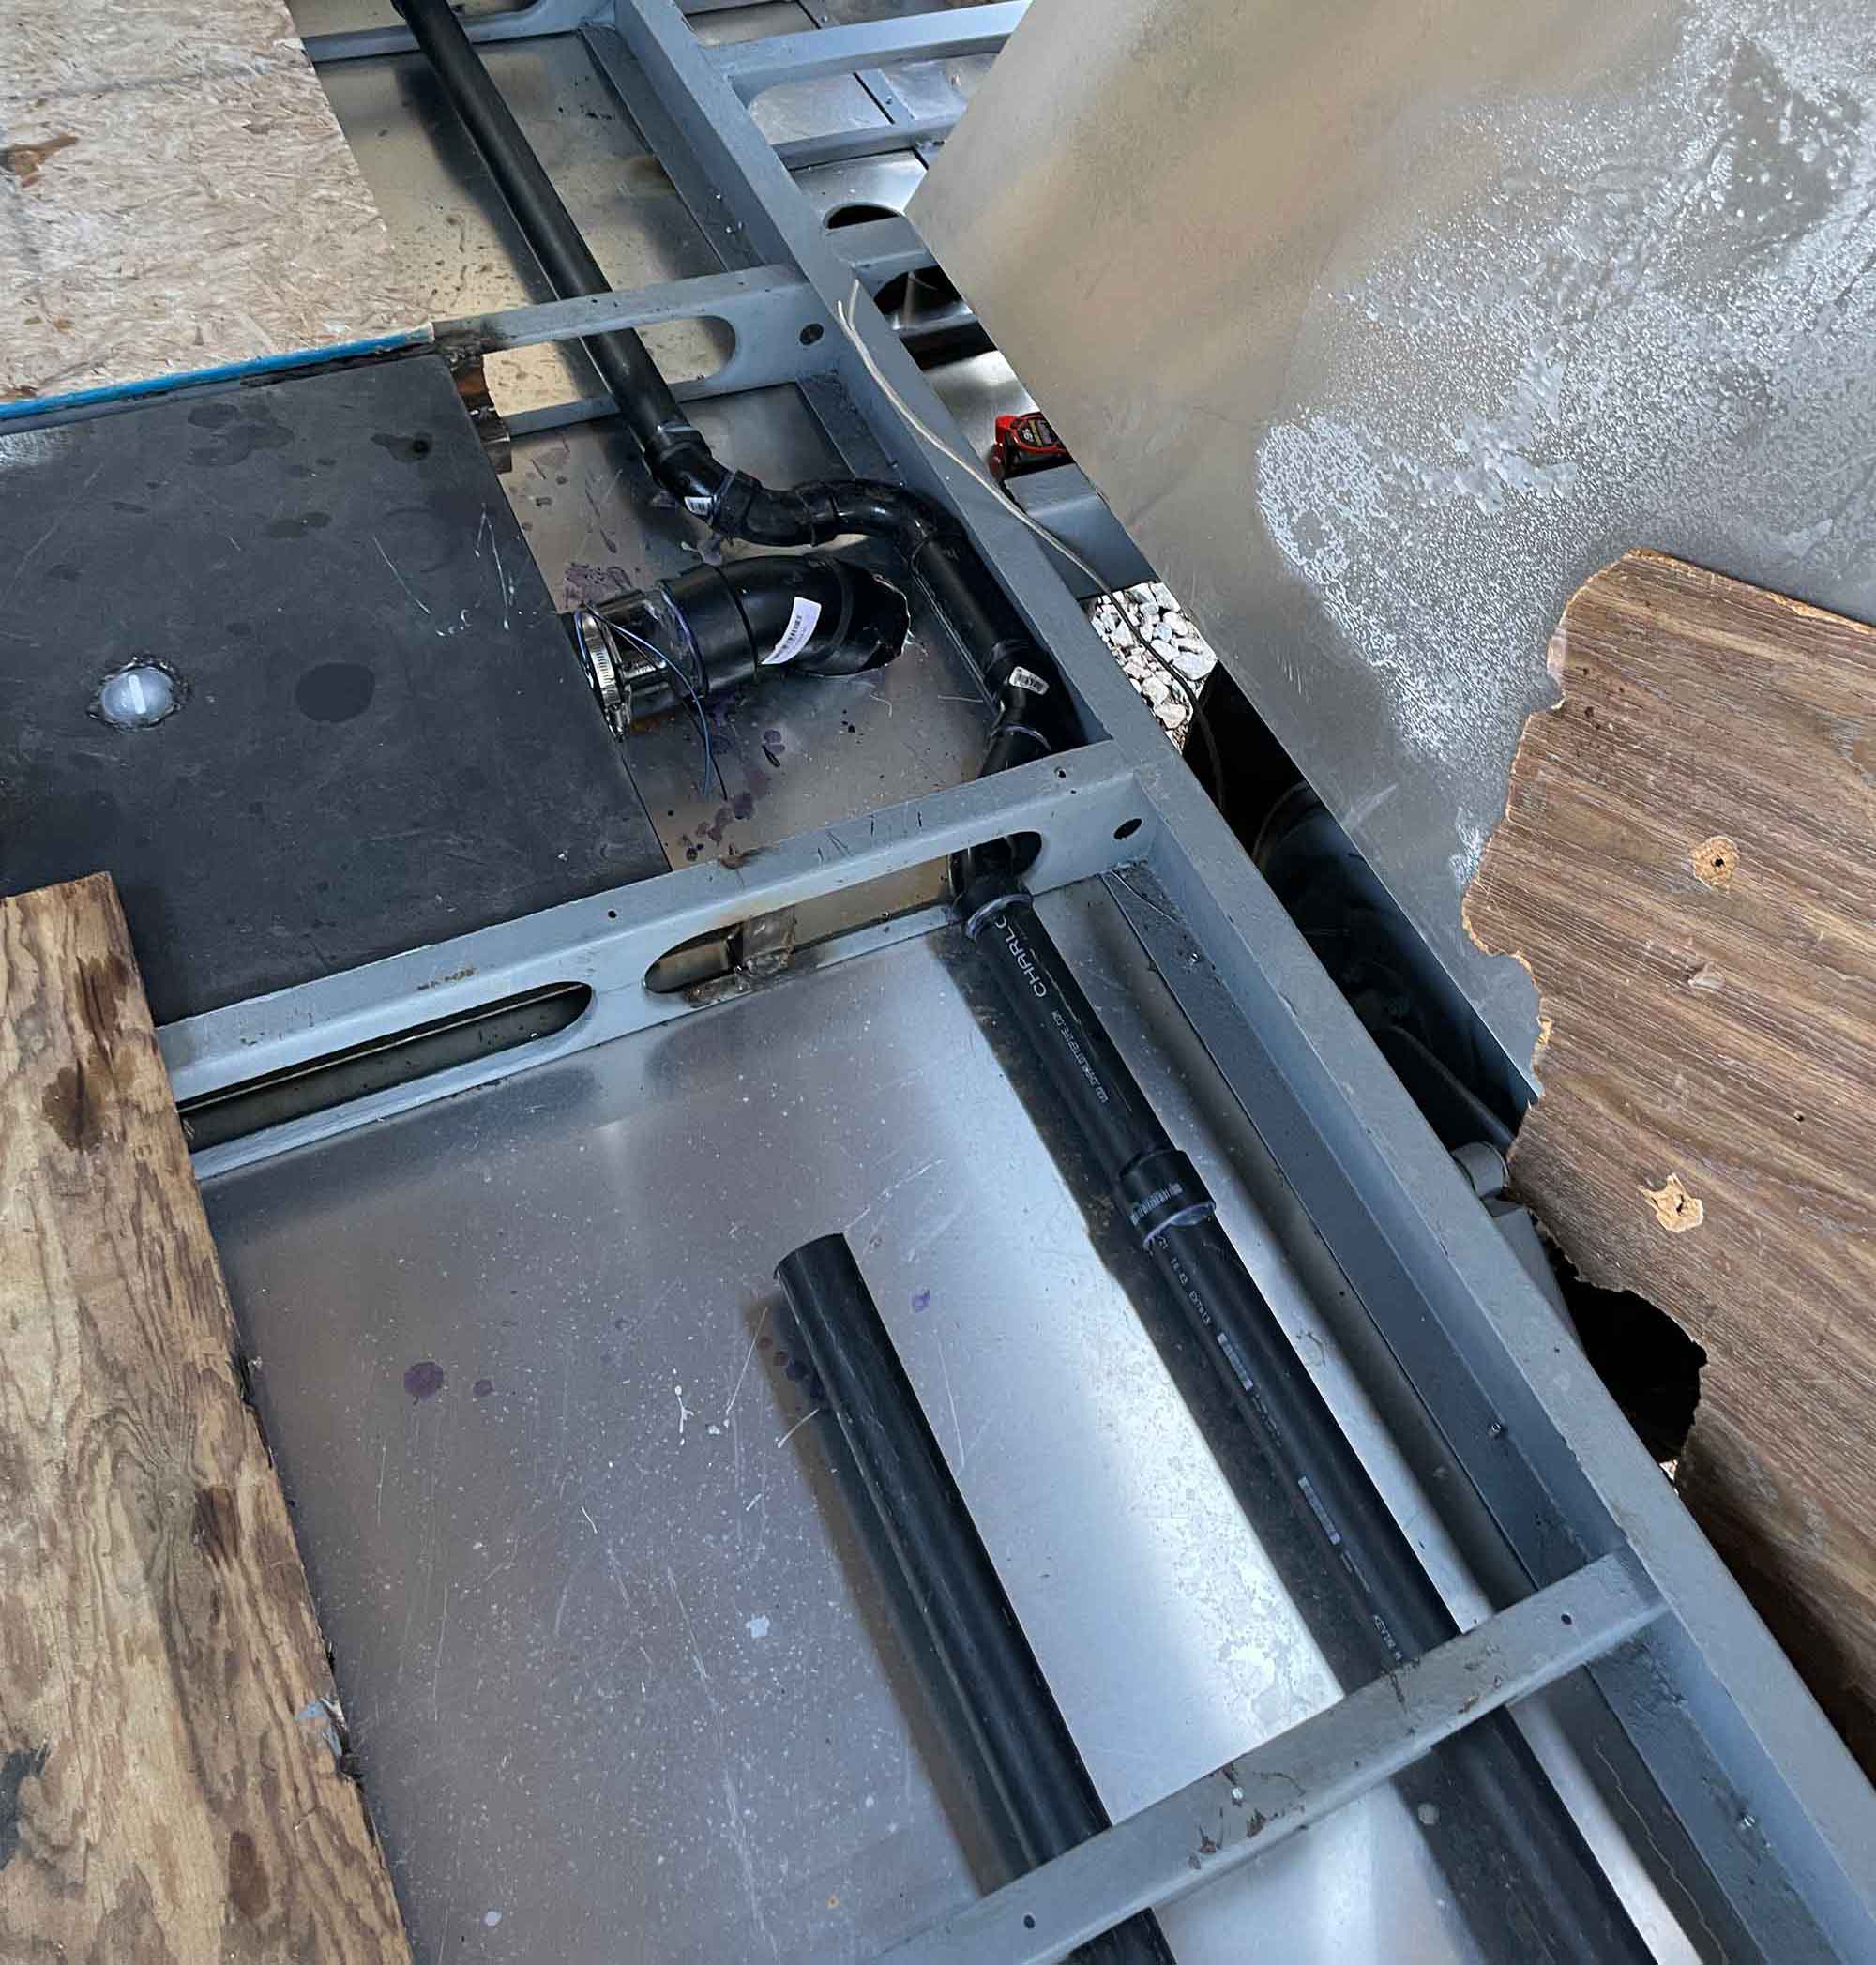
Spin welding is the process of generating heat by friction to weld thermoplastic parts together. Because we are completely changing the floor plan of this trailer, we needed to get custom-made tanks for the new layout. The black tank got moved from the back to the mid-section area of the trailer’s frame. We converted the old white water tanks into gray tanks. As it turns out, until the 70s, Airstream campers were not required to have gray tanks. So basically all wastewater would drain directly to the campground. So if you plan on renovating a camper built before the 70s, plan on adding gray tanks. And as for the new white tank, we will be placing that one under the bench by the sitting area.
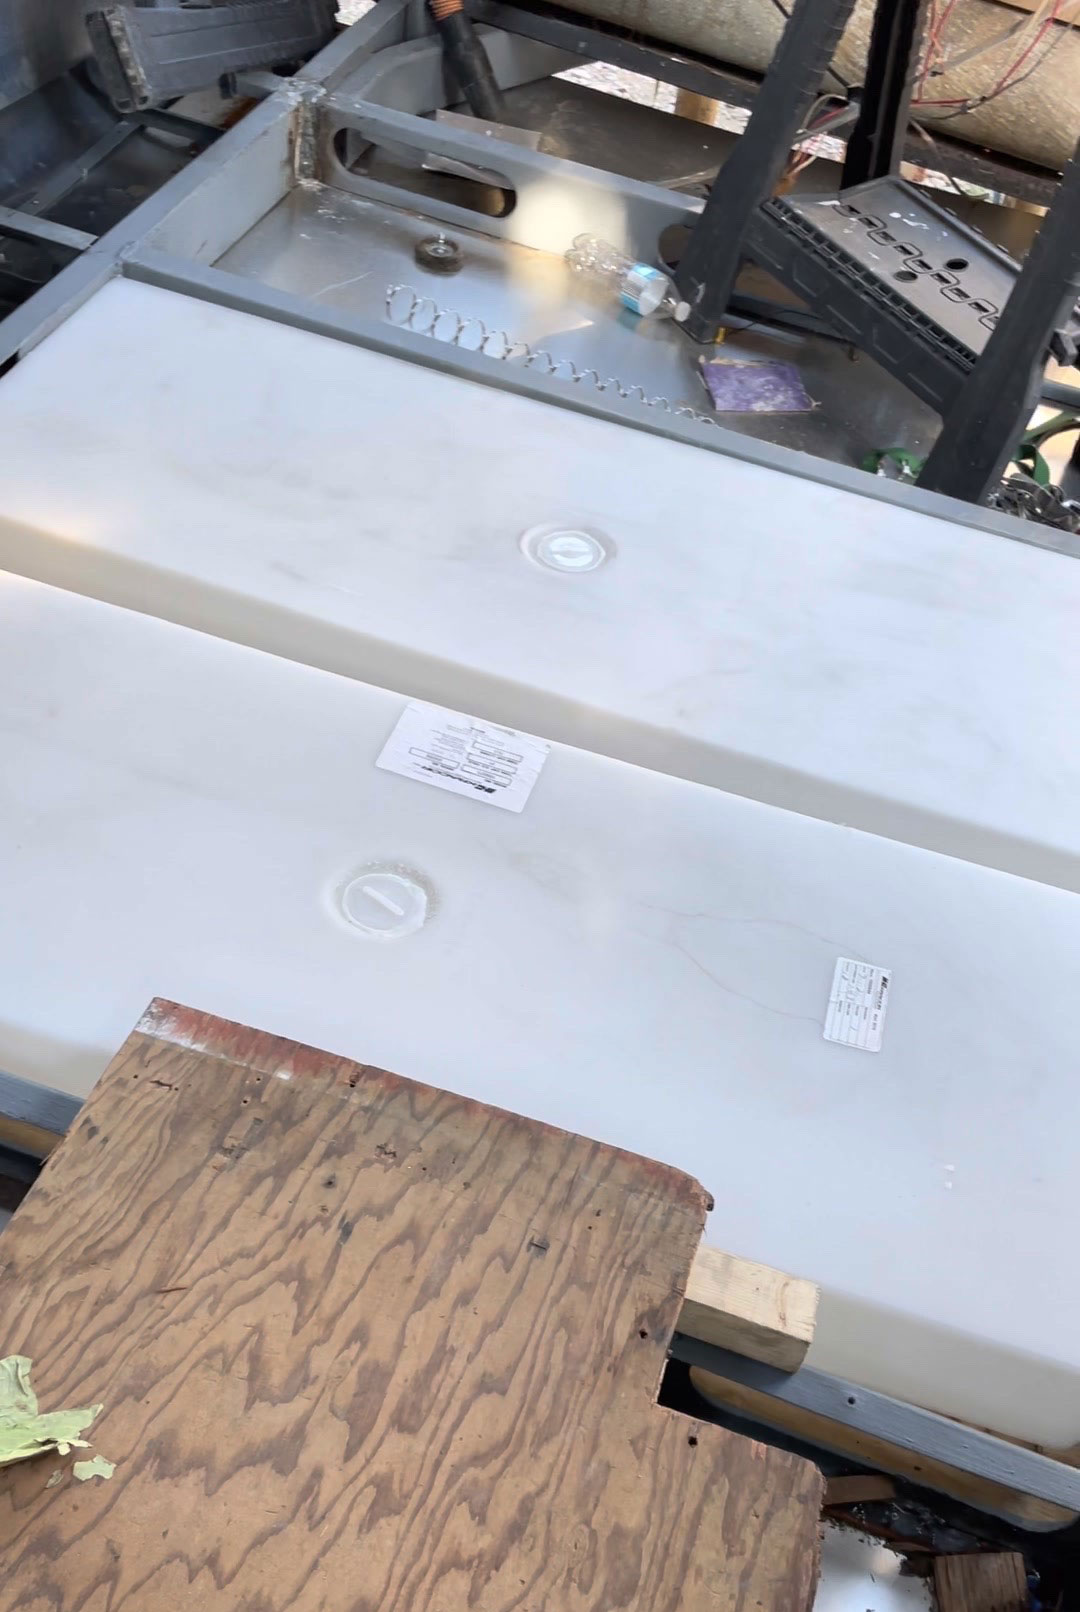
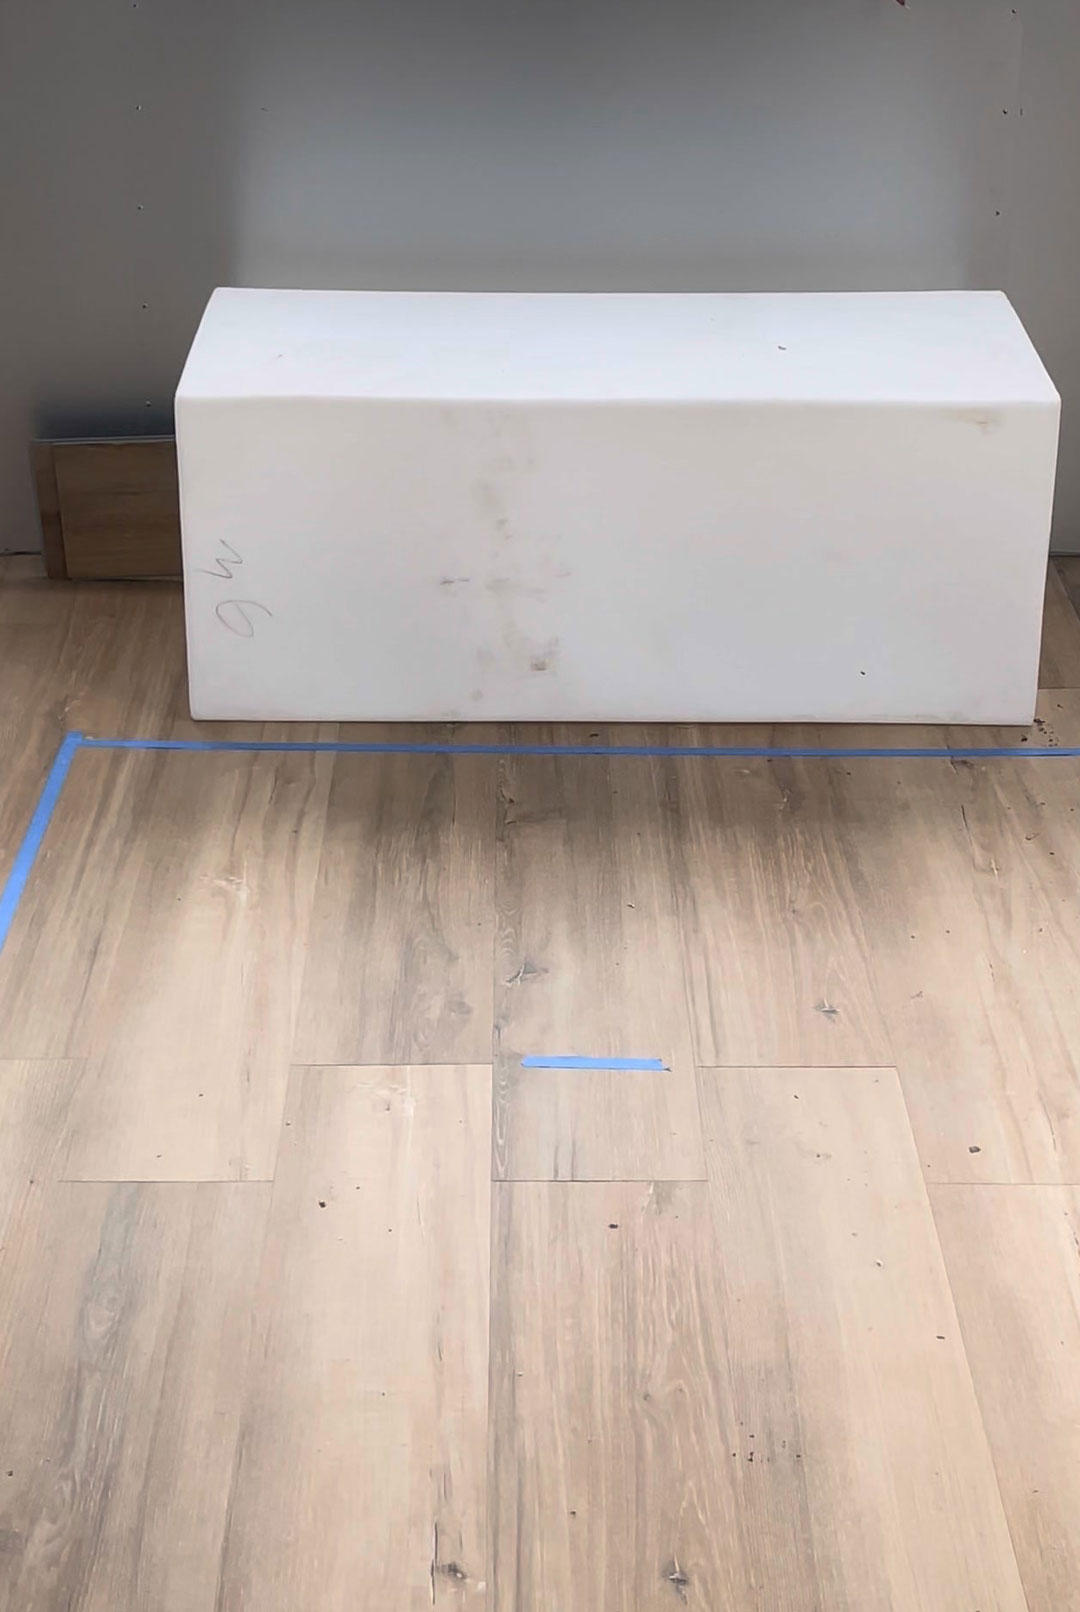
You can find all sorts of holding tanks, but it can be tricky to find tanks with drain and vent holes that work with the new layout. So that is when spin welding comes in handy. Spin welding gave us the flexibility to add new tanks that worked with the new floor plan.
airstream renovation
How-to-spin-weld
How-to-spin-weld
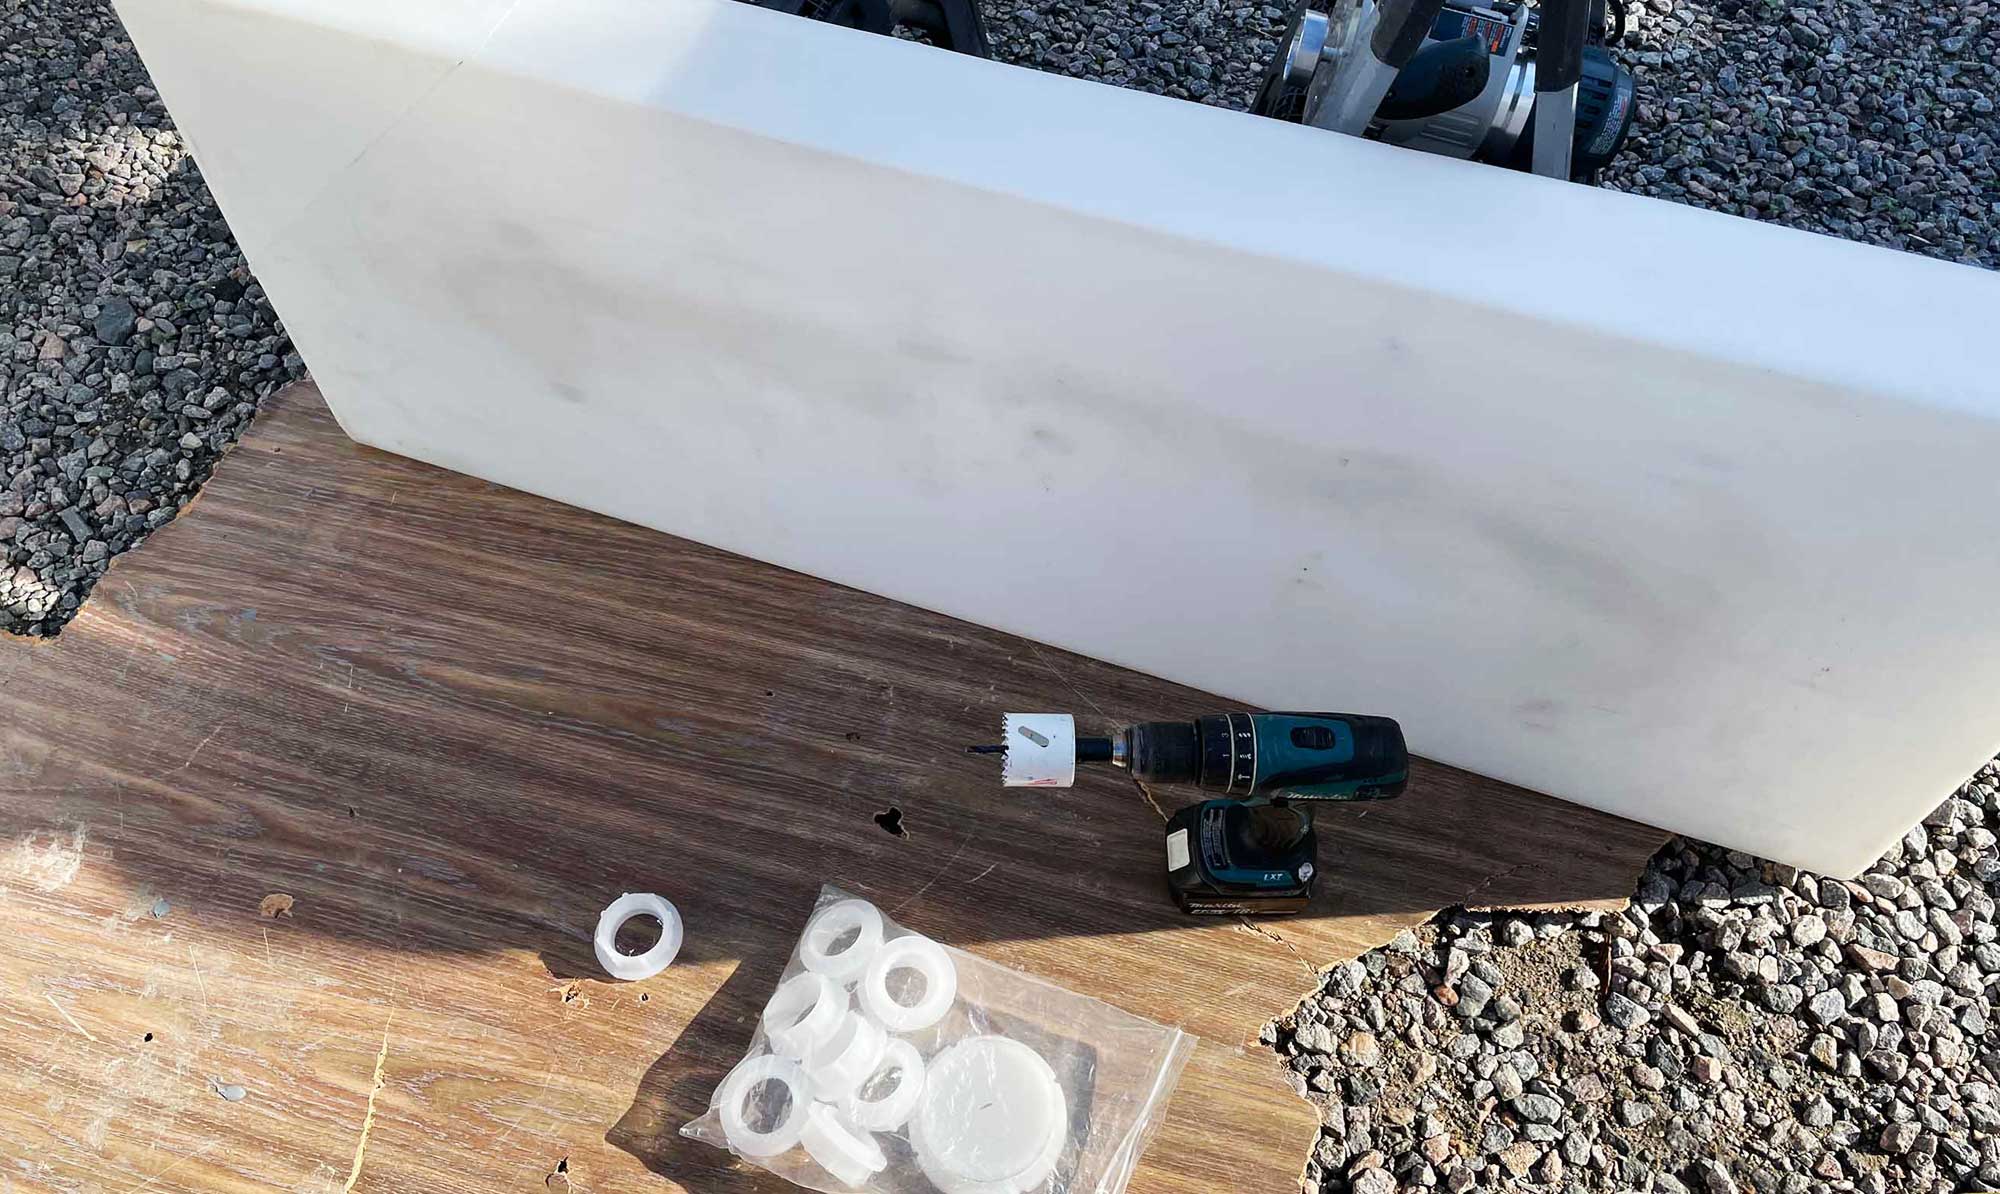
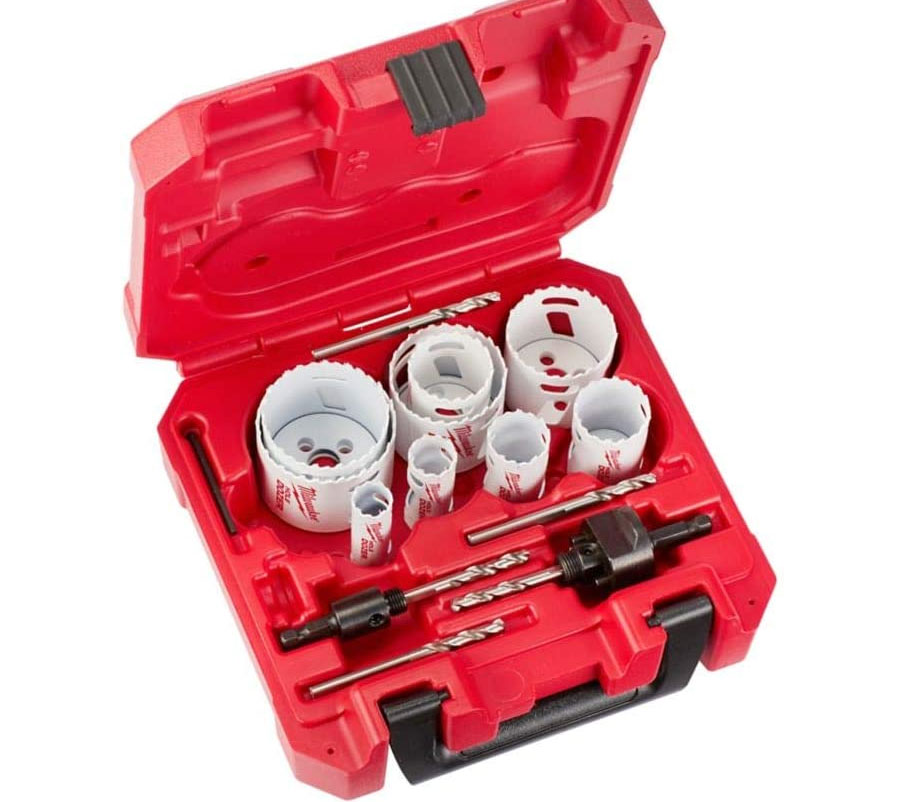
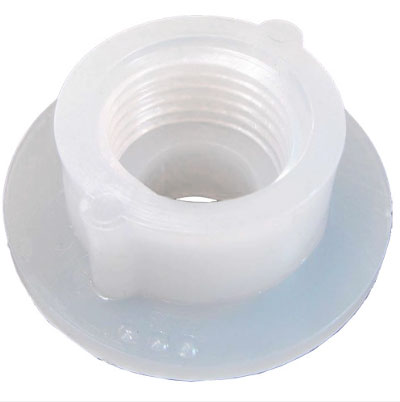
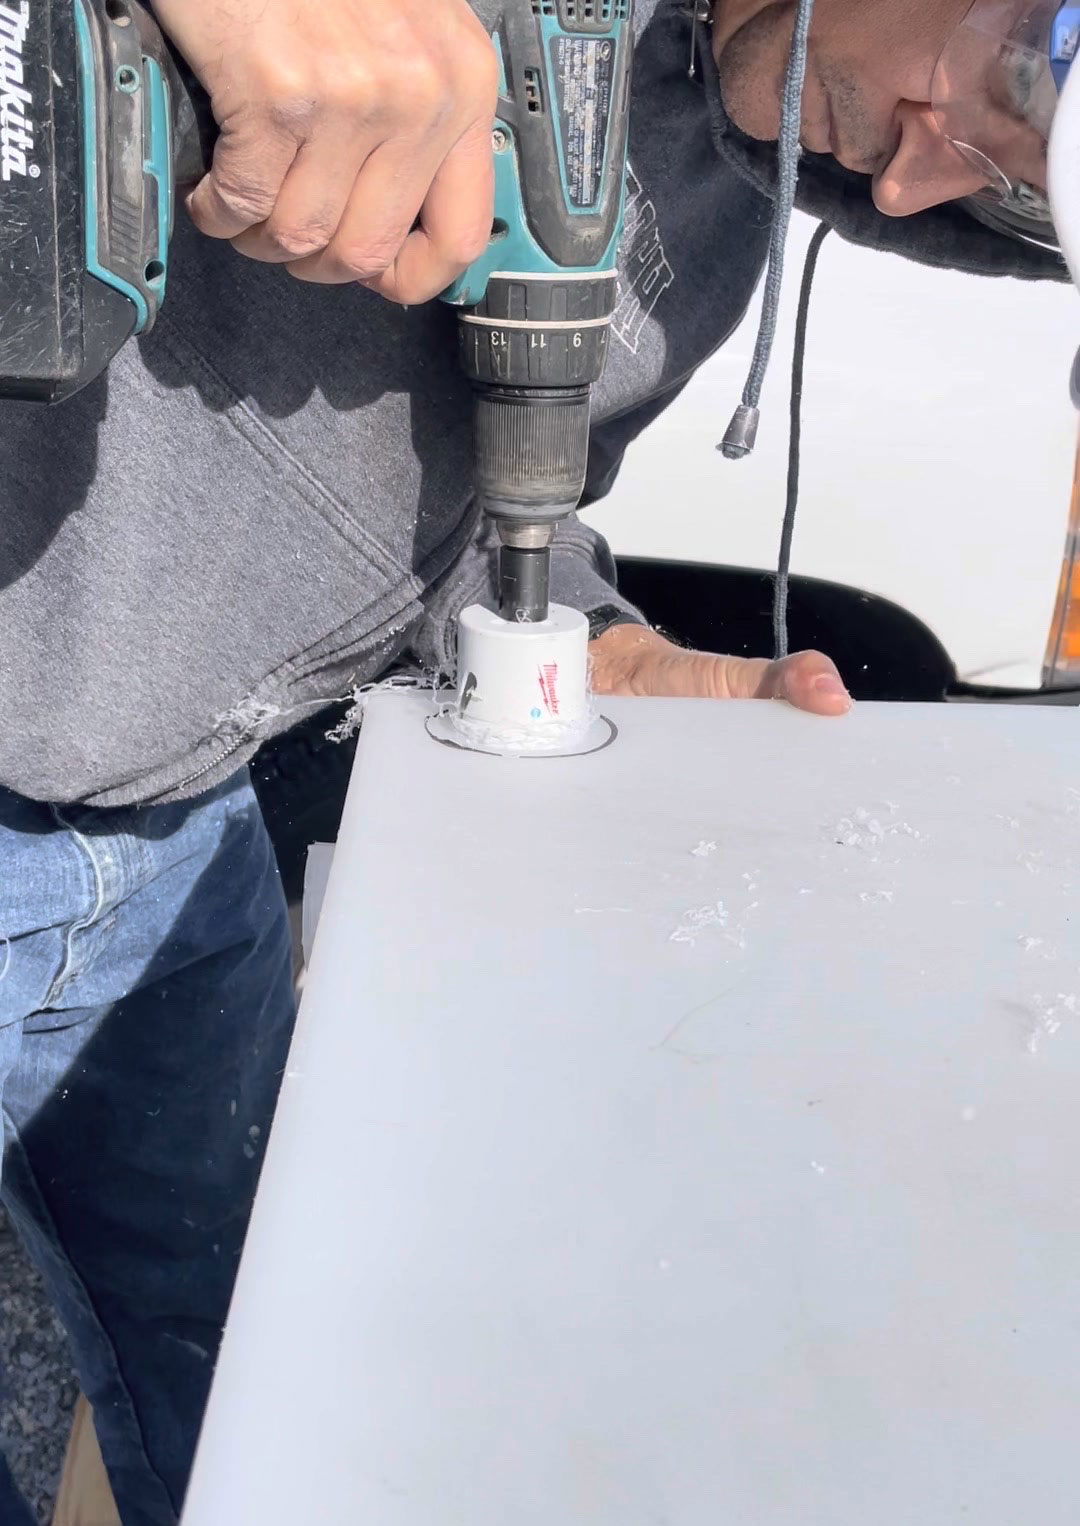
1- cut a hole using a hole saw like this one. This hole should be slightly bigger than the fitting you will use.
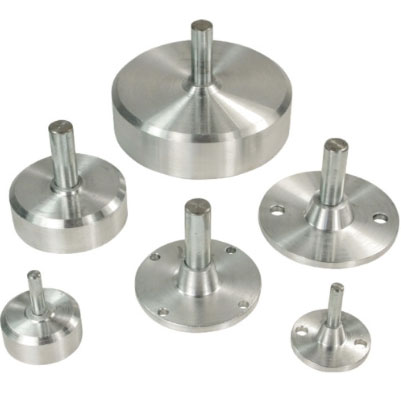
2- place the fitting you need in the hole using an electric router that generates up to 18,000 to 25,000 RPMs with the coordinating driver tool attached to the router.
3- once you turn the router on, apply a slight pressure, and the fitting will melt into the hole of the polyethylene tanks. This process is super fast, about 3 seconds.
click the photos for the Airstream sources
To see more scenes from #flippingthecancadomobile, visit here.

